Setting up cart widget
This article shows you how to properly setup and optimize your cart widget, regardless if you're hosting your store front on Subbly or elsewhere.
What is the cart widget and how does it work?
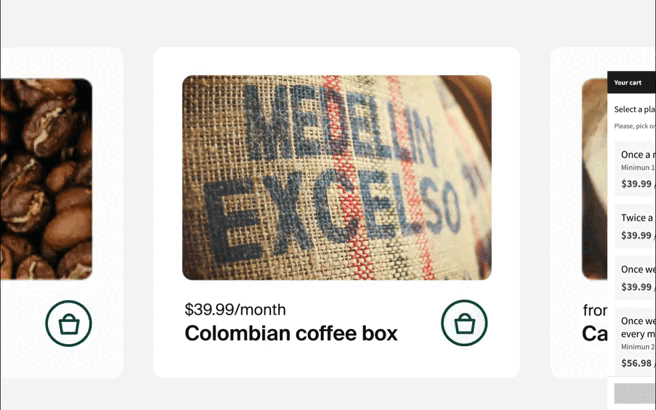
The cart widget is a pop-over that appears in the form of a sidebar (usually glued to the right border of your site's pages). It can be initiated either by adding products to the cart directly from the site or by calling it by clicking on the cart icon which is usually located in the site's header (in order for the cart to be reviewed).
Once on the cart widget, customers will easily navigate through their cart, add/remove items from it, change preferences associated with their order, update shipping addresses, and gifting preferences or apply coupons if some are applicable. Once they are finished browsing the site and adding items to their cart, they will be able to proceed to the checkout so they can finish their purchase.
We've designed the cart widget to streamline the user experience on your Subbly site and to help prevent abandoned carts at it.
There are 2 ways how the cart widget can be initiated for your customers:
- opting to add one of the products from your storefront to the cart
- clicking the Cart icon cart previously added to your Subbly site through the Account element
Can I customize the looks of the cart widget?
Absolutely! We've given you access to the entire CSS of the cart widget so you can change its styling of it in order to match the branding of your store and checkouts. There's very little that you actually can not do with it.
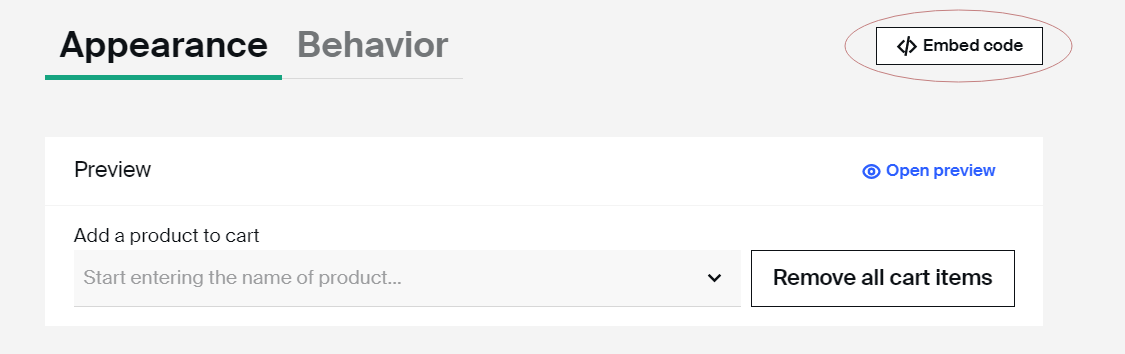
In order to start customizing your cart widget's looks, make sure to navigate over to Cart Settings inside your Subbly admin.
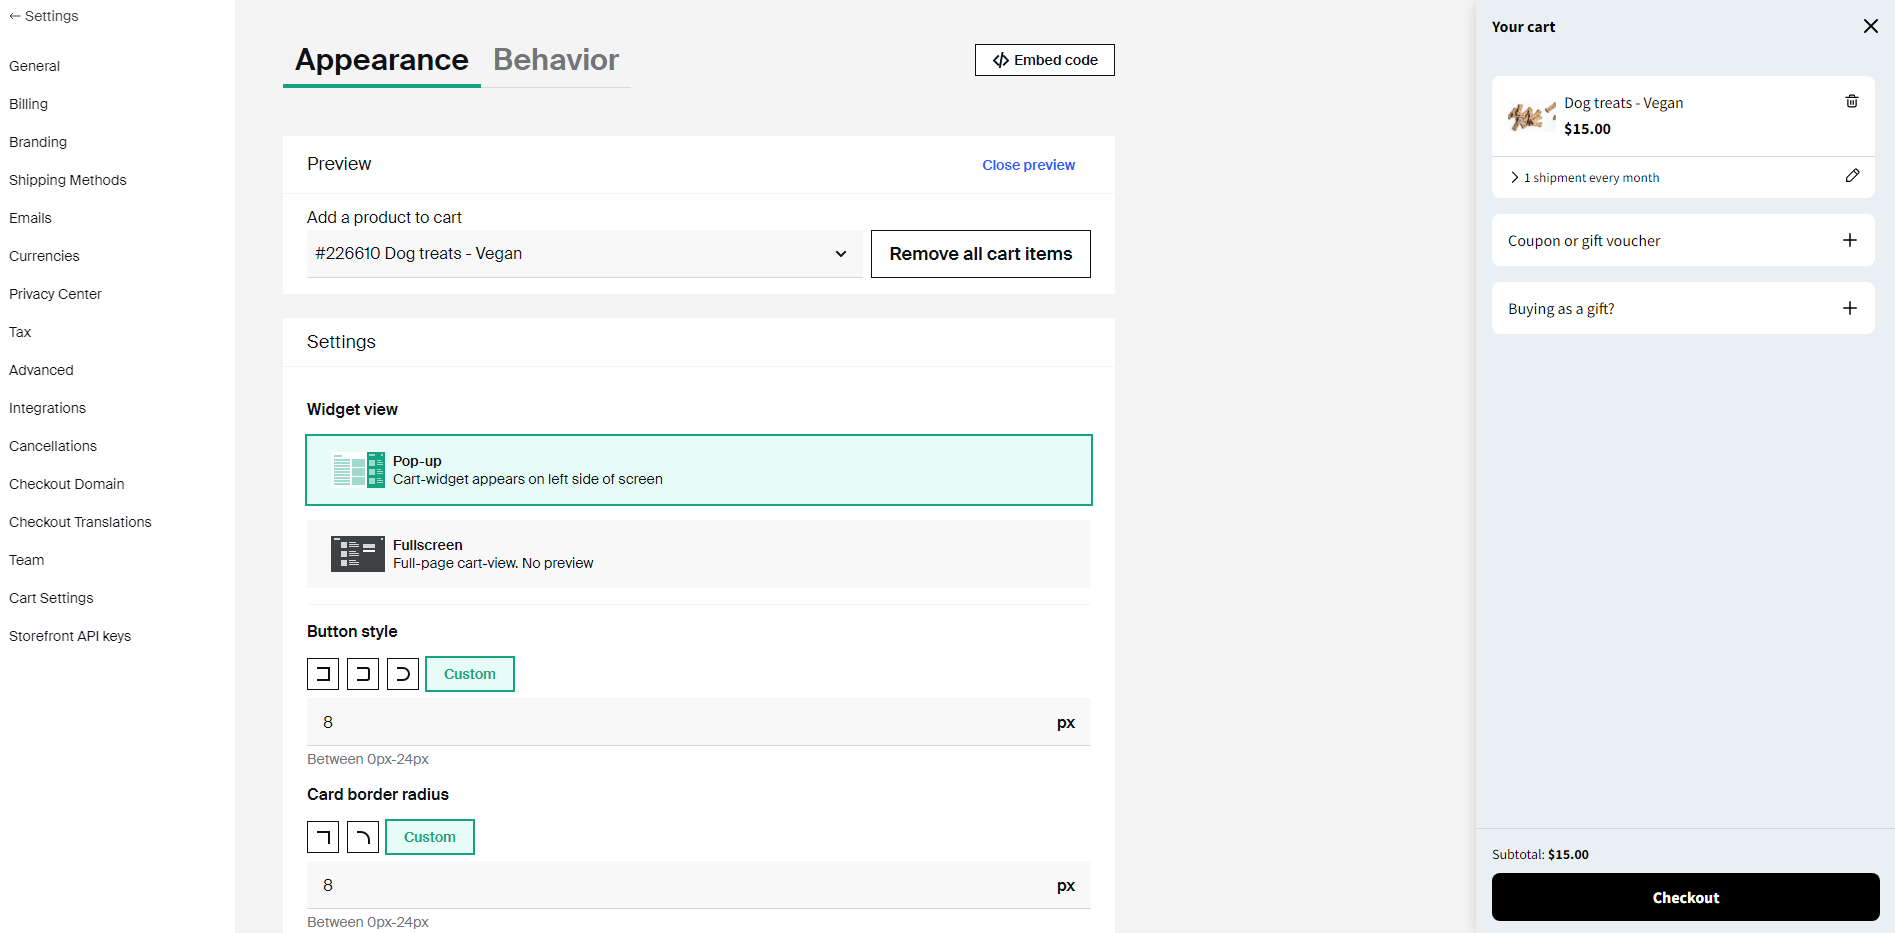
We believe that all configurations here are pretty much self-explanatory so we won't be going into nitty-gritty details of explaining each one of these. If you do have a question though, feel free to give us a shout on chat.
Can I change the behavior of the cart widget?
Of course! You can modify some of the actions that the cart widget does to make the process as you want.
And we will explain what each one of these toggles does.
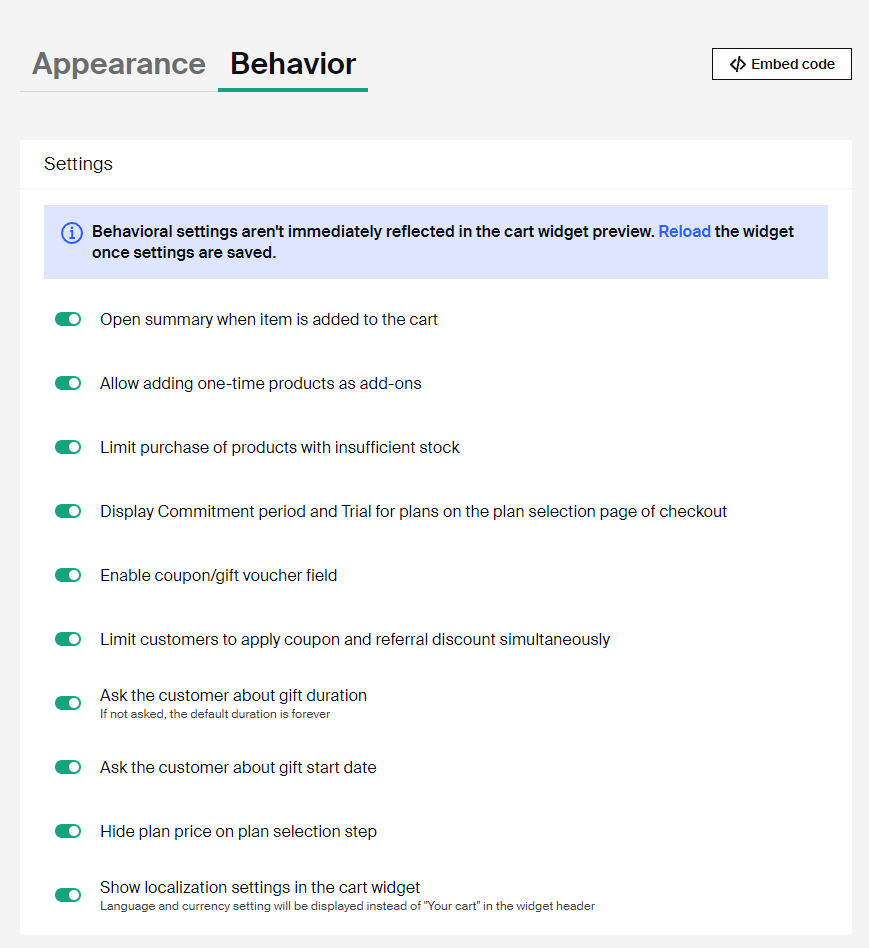
- Open summary when item is added to the cart - if you don't have this toggle activated, the cart widget will show the next message '(name of the product) is added to your cart'.
- Allow adding one-time products as add-ons - this toggle only applies if you have the new checkout widget enabled. And it allows adding one-time products as add-ons to the subscription product. It means that the customer will receive the one-time product every time he/she receives the subscription product.
- Limit purchase of products with insufficient stock - this toggle is self-explanatory, but it limits the customers to purchase products with insufficient stock.
- Display Commitment period and Trial for plans on the plan selection page of checkout - this toggle displays the commitment period and trial plans in the cart widget.
- Enable coupon/gift voucher field - this toggle allows you to remove the coupon/gift voucher field from the cart widget.
- Limit customers to apply coupon and referral discount simultaneously - if this toggle is activated, people won't be able to apply a coupon if they are using a referral link from one of your customers.
- Ask the customer about gift duration - this toggle asks the customer the gift duration, if this one is disabled, the gift duration will be settled up as forever.
- Ask the customer about gift start date - if this toggle is deactivated, the gift will start immediately.
- Hide plan price on plan selection step - if this toggle is activated, the cart widget won't show the price of each plan if the product has different pricing plans attached.
- Show localization settings in the cart widget - if you activate this toggle, the language and currency settings will be displayed instead of "Your cart" in the cart widget header.
How to install the cart widget on a 3rd party website?
If you didn't use Subbly to build your storefront initially, it doesn't matter - you can still get your UX streamlined by enabling and installing cart widget on an external site. To simplify the tutorial here, this section will be organized as a mini-FAQ section.
Installing the Subbly's cart widget script on an external site
First of all, there are 2 common examples of how one can have Subbly's product checkouts installed on an external site.
- you've used an embed widget to integrate Subbly's product checkouts in an embeddable iframe
- you've simply linked your site's CTA's to link to the Subbly product checkout URLs
If you have your store's CTA linked to Subbly's products, you can get your cart widget to work across your site by simply injecting the following piece of code to your site's pages and before the closing </body> tag of the page (make sure to inject this piece of javascript code into all pages of your site where you have products listed).
<script>
  window.subblyConfig = {
    apiKey: 'API_KEY',
    settings: {
      interceptProductLinks: true,
      cartCounterEl: '.subbly-cart-product-count',
      cartToggleEl: '.subbly-cart',
      cartButton: true
    }
  }
</script>
<script type="module" src="https://assets.subbly.co/cart/cart-widget.js"></script>
How to add a floating cart icon to your external site?
If you don't know what we have in mind for the floating cart icon, we simply have the sticky cart icon ribbon which you can see added to the side of some customer's sites.
Adding this one is already done by default if you've copied the javascript provided in the previous section. However, if you wouldn't want this cart icon to be present at all, you can modify the value for this part of the code:
cartButton: true
If you wouldn't want the floating cart icon to appear on your site, make sure to change the value for this one to false instead.
How to change the floating cart icon on your external site?
You can now customize the floating cart icon on your external website with ease. Simply replace the "cartButton: true" line of code with the following code snippet that we are sharing below. Make sure to replace "image_url_svg" with the URL of the SVG image you prefer. Once you've made the changes, save the code and refresh your website to see the updated cart icon.
      cartButton: true,
      cartButtonImage: 'image_url.svg'
How to make your own site's cart icon behave as Subbly's cart widget?
Talking about using your own site's cart widget to behave as Subbly's cart widget, that's also possible but it requires a bit of juggling with classes and element IDs and a bit of technical know-how. In essence, it all comes down to (again) modifying the piece of code we've previously shared with you as well as knowing how to use web inspector to locate and extract classes and IDs of certain elements you currently have on your site.
You should pay close attention to the following piece(s) of the code:
cartCounterEl: '.subbly-cart-product-count',
cartToggleEl: '.subbly-cart',
The first one controls the cart counter facility, ie., automatically updates the cart counter of your site's cart icon whenever some product is added to the Subbly cart. By locating and changing the value of .subbly-cart-product-count, you can get your cart to talk with Subbly's cart widget and auto-update the cart counter as items get added/removed from the cart.
The second line controls whether your site's cart acts as Subbly's cart widget or not. By changing and using the proper value for .subbly-cart, you can specify whether your site's default cart icon will work as Subbly's (embedded) cart widget.
If all of the above sounds complicated to you, don't worry! CS team has you covered so don't hesitate to reach out whenever needed.
FAQ
Do I have to enable the cart widget if I have a Subbly website?
No. This is Subbly's default purchase flow. Do note that you must add the account element to your site for the widget to work correctly and for your customers to be able to easily navigate in and out the cart.

Can I disable the cart widget on my Subbly website?
This is not something that you can do from inside the Subbly admin, however, if you have a special reason or a unique business case that you actually don't need and would like to disable the cart widget, please make sure to contact support and they will get you sorted. However, we would strongly discourage you from doing that as it might seriously hurt your site's and checkout conversion rates.
Add to Cart and Subscribe/Buy buttons are both initializing the cart widget. Is this normal?
Yes, this is expected behavior. If you're using the Products element to display your store's products, both Subscribe/Buy or Add to Cart CTA buttons will initialize the cart widget just the same. Given that there's no real difference between the two, we suggest leaving only one of the CTA buttons present to deter any confusion among customers. Don't forget that you can manipulate the prompt of these buttons (ie., it doesn't need to read Buy if you wouldn't want it to, you can change that).
Can I upload a custom font to use on the cart widget?
We strongly do not recommend it and advise you to choose among the available fonts on the Cart settings page, however, if you're ready to take full ownership of the final look & feel you can use the following method. You'll need to embed the <style> tag into the <head> section of your website pages:
Feel free to let us know what you think of this design. Any questions? We're never more than a click away!