Pages App
Everyone has his own reasons to create a website, that's why the architecture of each website is very different. Our stories and ideas vary, so do the content, structure, number and hierarchy of pages on our websites. With Subbly, you can create your site the way you want it in a breeze and add as many pages as you'd like!
Getting started
Once you've chosen the right template for your site, you are all set to start customizing your structure, adding or removing pages and setting page names.
Managing all these, as well as defining the correlation between the pages is made super easy from the Pages App on your Dashboard.
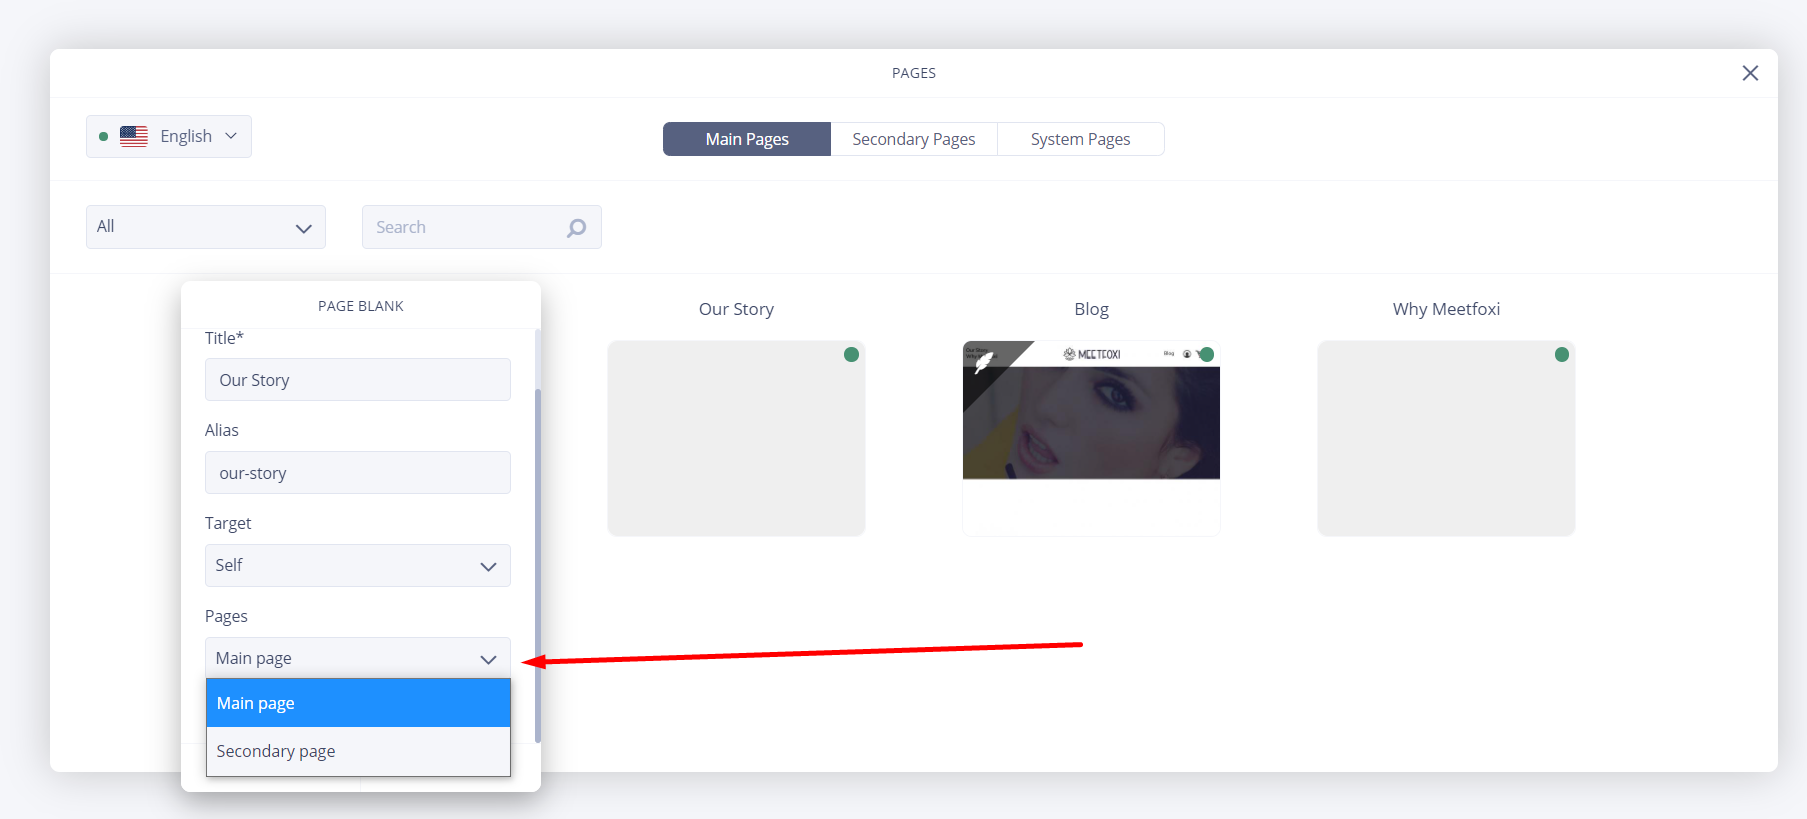
You'll find the overview of the already existing pages of your website right in front of you.
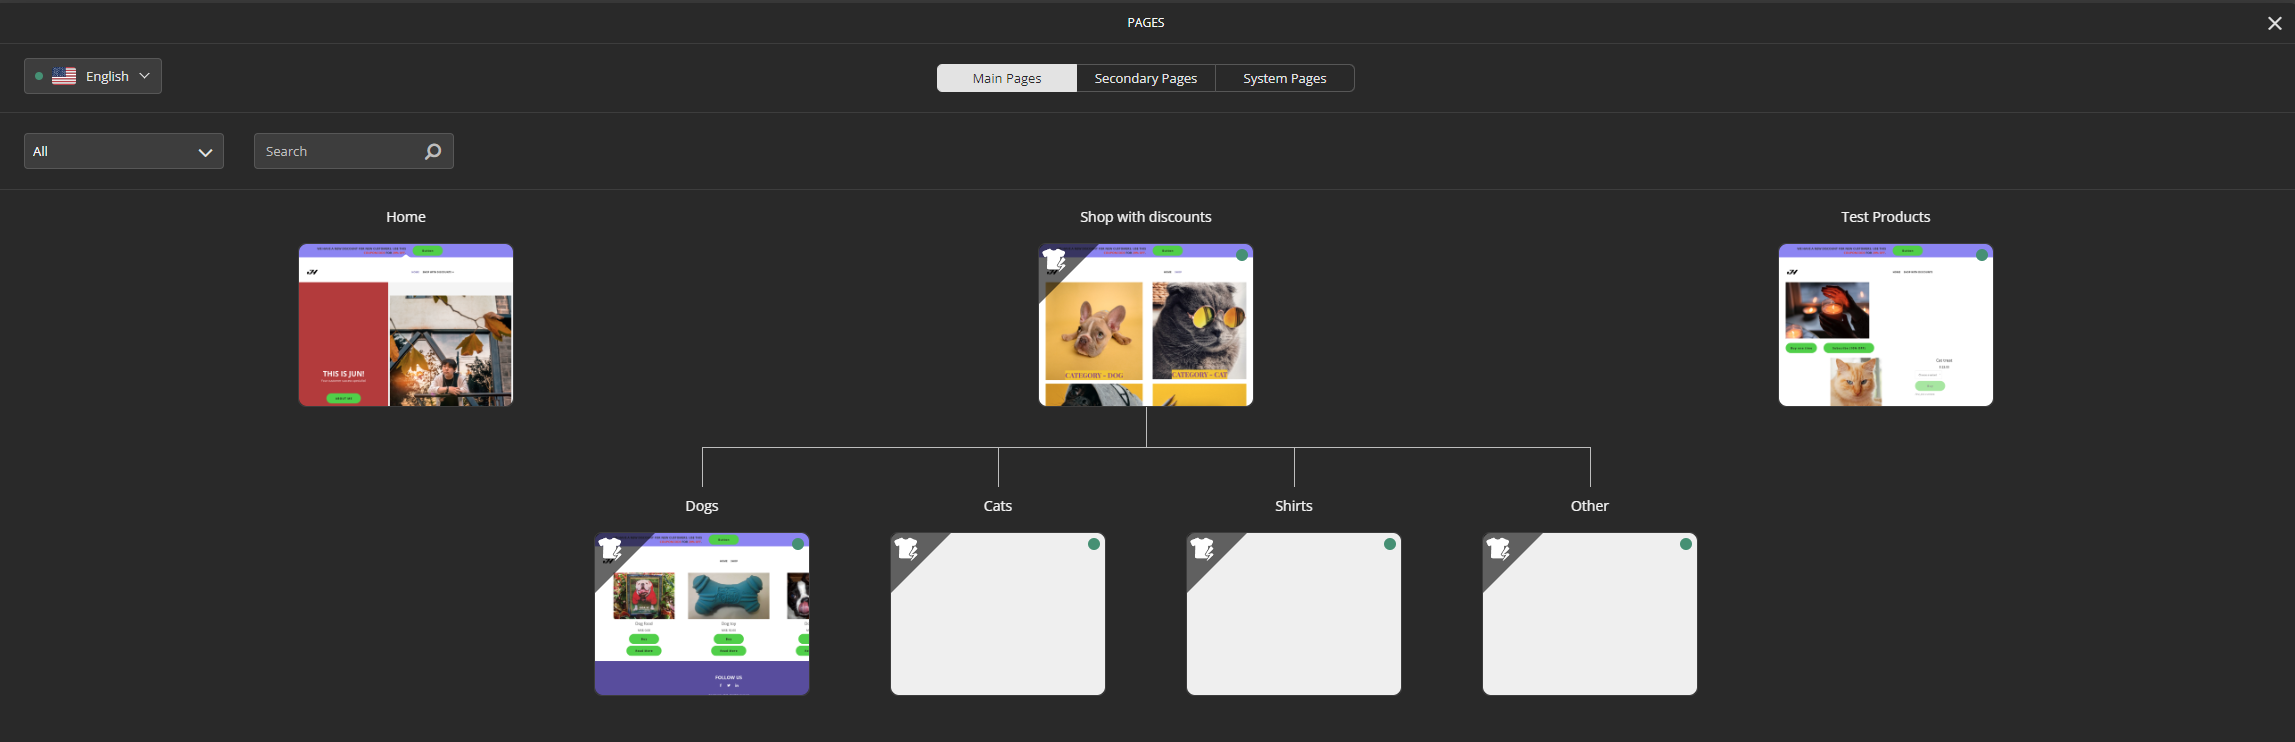
You've probably already noticed, that your pages fall under these three categories.
- Main Pages
- Secondary Pages
- System Pages
So let’s go through each type one by one.
Main Pages
Main Pages are visible on your site navigation, the page menu, while the secondary ones appear when redirected from main pages through internal links. Complete websites usually include the following main pages:
- Home Page
- About Page
- Product/Service Page
- Portfolio/Gallery
- Contact Us Page
- Blog
It goes without saying that each Subbly template is created as a sample and you're the one to set the number and type of pages. You won't necessarily include all of the above in your navigation.
You can also rearrange the pages by putting them in the desired order by simply dragging and dropping them around.
As you may have noticed there is a Language Switcher on the top left corner. It allows you to manage the pages designated for each language you have added through the Languages App.
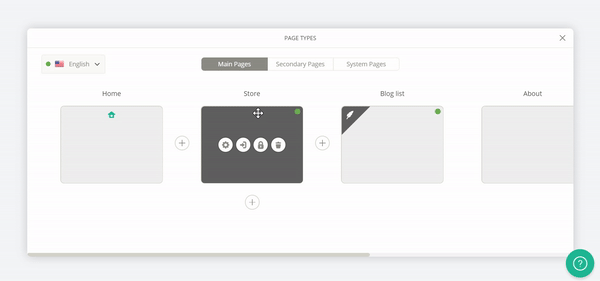
Add or remove pages
It is very easy and visually suggestive to add or remove a page through this app. All you need to do is hover over one of the pages and + buttons will appear on different sides of the pages.
To add a sub-page, just hit the ‘+’ icon below the page, while by clicking the left or right ones you can add more main pages next to, let's say, the ‘Home Page’. The page types also vary, from Page Blank to Articles.
What about adding a blank sub-page now to see it all in action?
Once it's added, you can edit the Page Title and Alias, and choose whether you want it to open in the same or a new tab from Target option.
You can also unpublish a certain page by simply clicking on the green dot in the upper left corner of every single page. It will turn red indicating that the page is unpublished.
Moving pages from one Category to another (Main/Secondary) is also possible from Page Settings.
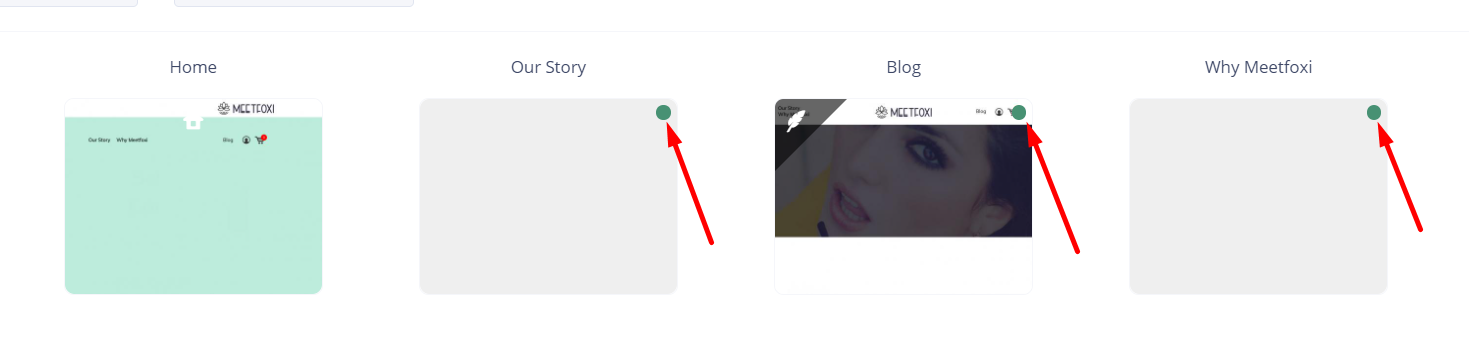
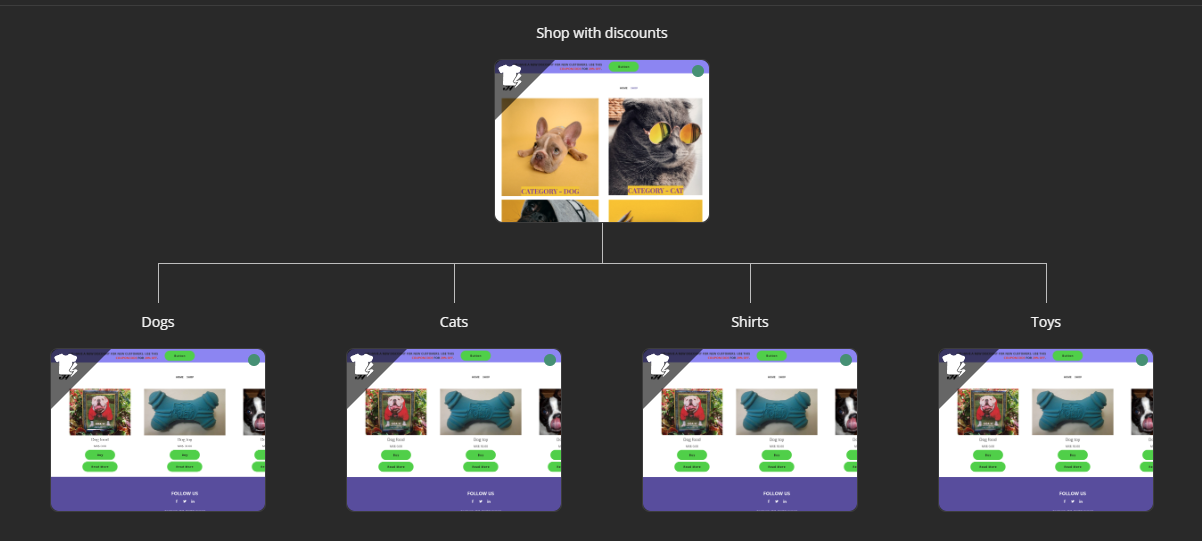
How to add sub-pages?
In order for sub-pages to be visible on the navigation bar, it is necessary to place them under the corresponding main page. As depicted in the provided screenshot, the sub-pages should be nested within the main page to ensure their visibility in the navigation bar.
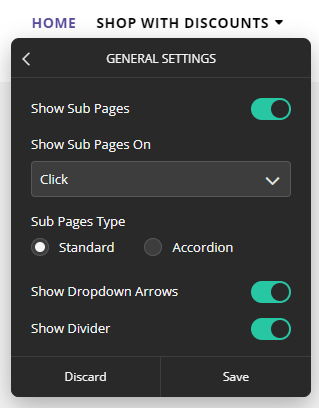
Now that we have the desired sub-pages, let's right-click the navigation menu on our header and select "General Settings".
From here, you can show the sub-pages, and also change how they are displayed. Feel free to explore the options that we provide you with!
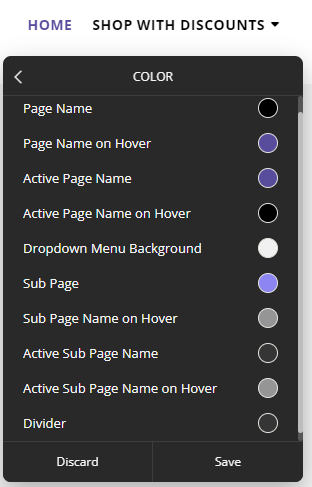
If you want to change the color of the sub-pages, right-click the Pages Element again and select the "Edit Page Styles" option.
From here, you can change the colors of the pages when they are active, and of course, the color of the dividers.
Secondary Pages
Please note that all of the pages currently present on the Main Pages tab will be visible and included in the site's navigation if you were using the Pages element when building your site's layout.
But, what happens if you wouldn't want some of the pages to be featured on the main navigation but yet accessible to the public?
This is where the Secondary pages tab comes into play. If you make some pages that you wouldn't want to be included in the navigation (FAQ, About, Terms or Privacy Policy for example), you can simply move them to the Secondary Pages tab and they will still be accessible to the public if they follow the page URL, but you won't have these included in the navigation bar.
System Pages
This is only a bunch of boring prompt pages that should be present on your site if a customer wanders to some dead link or something. You shouldn't stress much about these, yet these shouldn't be deleted as well.
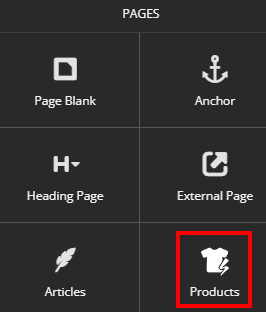
Different types of pages to be added
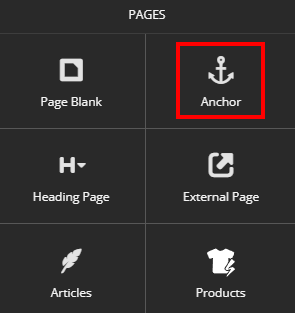
Let’s stop by Anchor Pages, which enables creating an anchor to another page on your website.
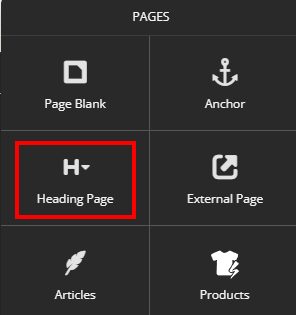
Next, we have a Heading page, which is visible on the navigation bar and acts like a header for its sub-pages.
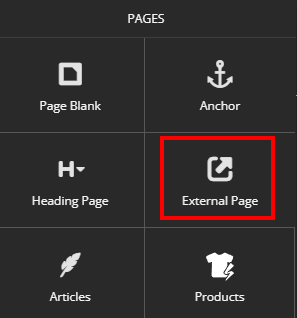
Want your visitors to jump to an external website in no time? Just add an External Page, which will redirect them to your website outside Subbly.
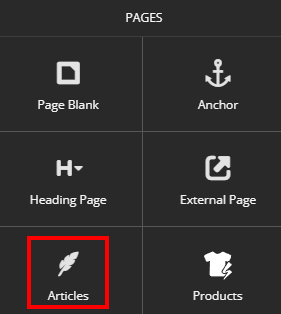
You can also add a Blog page through the Article option, so take your time to add the page type you need.
If you want a separate Products page featured on your navbar as well, you can add it by enabling a Products page from the adding panel.
Note that you will be able to add Products as an element anywhere on your storefront or on any inner page of your site whatsoever.
Page Blank is pretty much self-explanatory as it is.
Other page settings
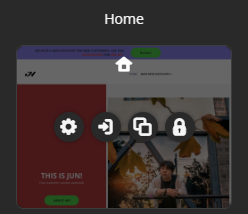
Let’s move on to the Page Settings now simply hovering over the desired one!
You will notice that you can’t delete the Home page, but can easily turn any other page into Home enabling the Homepage switcher.
On the other hand, you can opt for the Trash button if you want to remove any other page
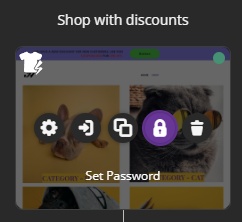
Homepage settings also allow you to:
- Edit your Homepage settings
- Go to your Homepage and continue editing it
- Duplicate the Homepage
- Set Password
Using the Duplicate option from the Pages App gives you a slot to duplicate pages of a website. When it comes to duplicating the subpages, it should be done manually.
The last option gives you the chance to set a password on a specific page and also check how the Password Protected Page looks to your visitors from the System Pages Section.
If you are interested in the feature, click on the 'Lock' icon, enable the Password Protect controller, and Enter the password in the Set Password field.
You can also make your full site password protected using the Site Setting App on your Dashboard respectively.
After having activated the Password Protection feature for the separate page, your site visitors will see your page like this.

That's also how your System Pages look like when your site visitor bumps into an Error page, or if you've decided to make your site go offline while you're still working on it.
Final thoughts and tips
That's pretty much all about the app, so let's move back to Edit Mode to check out some options that might come in handy.
So once you've defined the structure of your pages, the main ones will appear on the Header section of your website (navigation bar).
You can easily customize how they look from the Navigation settings. Simply click between your pages and you'll find a set of options available. Just select Edit Navigation and use the controllers to change the layout, mode, and more.
For example, if you change the Mode, your pages will be shown in a Burger, just like this:

Click on the Burger Icon and the pages will appear on the right side of your screen:

And if you want to make adjustments to the burger menu icon on Mobile view, you’d better switch the Navigation menu mode from Standard to Burger, apply the desired changes on the menu icon and switch it back to Standard.
Take your time to explore the other options, change the layout and alignments as well as add some designer touch to your navigation by clicking on the Brush Icon.
FAQs
Why are my pages not appearing on the navigation bar?
If your pages are not appearing, most probably they need to be SEO updated. Go to your SEO App, and update the title, description, and image of the page. This will fix the problem!
Need help with any of this? Give us a shout on chat!