Inventory Management
Inventory management is important if you're operating on limited stock of items. Luckily enough, Subbly offers a built-in solution when it comes to inventory tracking and out of stock handling.
What's in it for me? (Video tutorial)
With Subbly's built-in inventory management, you will be able to close the loop and automate the likes of:
- Inventory tracking (by creating groups of inventory items and SKU's for every possible subscription or one-time product, that's either available for subscription or offered just as an upsell)
- Out of stock handling (by keeping the customers in the loop via an email about the wanted items which are currently out of stock)
- Fulfillment (it's dead easy for your fulfillment center to know which items need to go into each box when you have all of the items labeled as different SKU's)
- Marketing (by building a sense of urgency with low on stock labels for the items with limited stock on the checkouts)
Detailed video tutorial on how to use and combine inventory management with out of stock can be found below
Creating groups and adding SKU's
First step with setting up your inventory management is going to be creating SKU's for your products and adding them into groups for easier organization of your inventory.
To start the process off, go here on your admin and choose to create an inventory group by clicking the Add Group button.
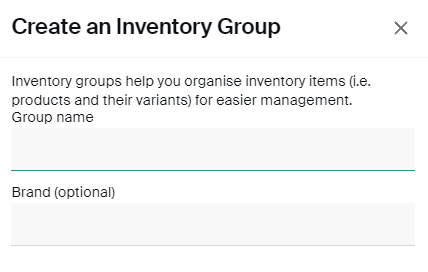
You will be presented with the following widget below where you're able to name a group and optionally add a brand to it.
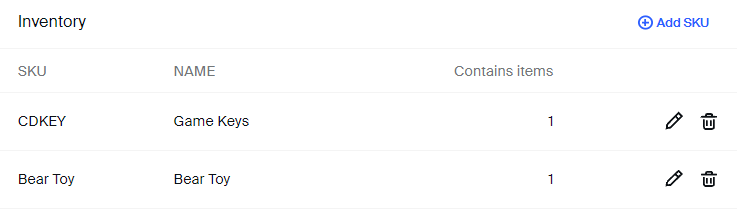
After you've added the group it's now time to populate it with the actual SKU's, so you can go ahead and click on Add an item as in the picture below

This will open the widget where you'll be able to create the new SKU.

Photo - photo of the SKU. This one will not be presented anywhere on the checkout nor visible to the customer. It's just for your internal purposes
Name - name of the SKU
SKU - stock keeping unit's ID. This one is important given that this is what's going to be passed to the order slip and the one you will be using for fulfillment.
Stock count - Number of items you have on stock. This is important for managing the out of stock functionality and handling of your items.
Weight - very important if setting up the shipping methods that will rely on the calculation of weight of the items.
Description - a simple description of the SKU in question which, again, will be used only for your internal purposes and management and won't be visible to the customer at any point.
Tags - makes it possible to tag the inventory item in question for easier management and filtering.
Attaching SKU's to products
Now that you've done creating the SKU item for each separate inventory item, it's time for you to connect the dots and attach SKU to particular products. Before we move on to explaining that part of the process, you should be aware that the SKU can be attached to:
- any subscription product
- any survey item
- any one time product
- any one time variant
Attaching SKU item(s) to a subscription product
In order to add the list of SKUs (or only one SKU) to the subscription item you will need to do it from the 4th step of the product creation as seen in the image below:
In this particular example, whenever someone finishes the checkout on this subscription product, one unit item of blue heart shirt and black shirt will be deducted from the stock count of these inventory items.
Attaching SKU item to the survey option
In order to add the SKU to the survey option, you need to click on the + icon when setting up the survey options within the question as seen below:
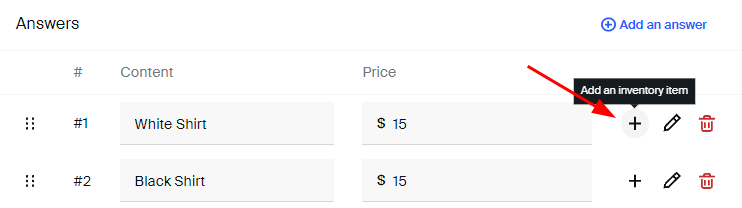
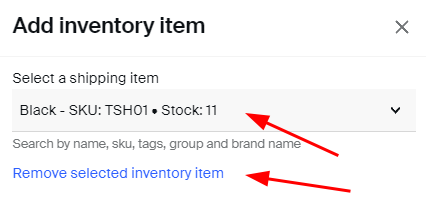
Once the SKU has been added, you will see the following indicator showing that this particular survey option already has an SKU item added to it. If you want to remove the SKU, just click again on that
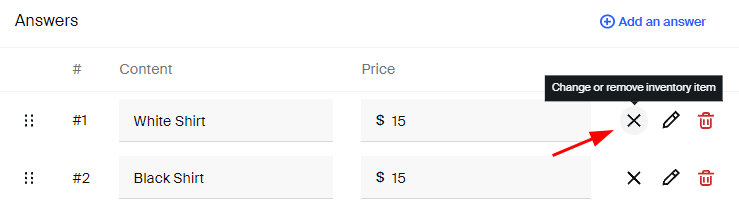
If you want to modify the SKU attached to an answer, just click on the minus and choose another SKU or remove it.
Attaching SKU item(s) to one-time products and variants
Once you have your SKU items created inside your Inventory panel, in order to attach SKU's to your one-time product you will need to do that from inside the Inventory widget visible inside the one-time product builder. As seen below:
Similar as with the subscription products, you are able to add multiple SKU items to the same one-time product. This stands for the variants of one-time products as well.
As for the one time variant options, the widget is similar as with the survey items and you can add the SKU item to specific variant options by clicking the + icon as in the picture below:
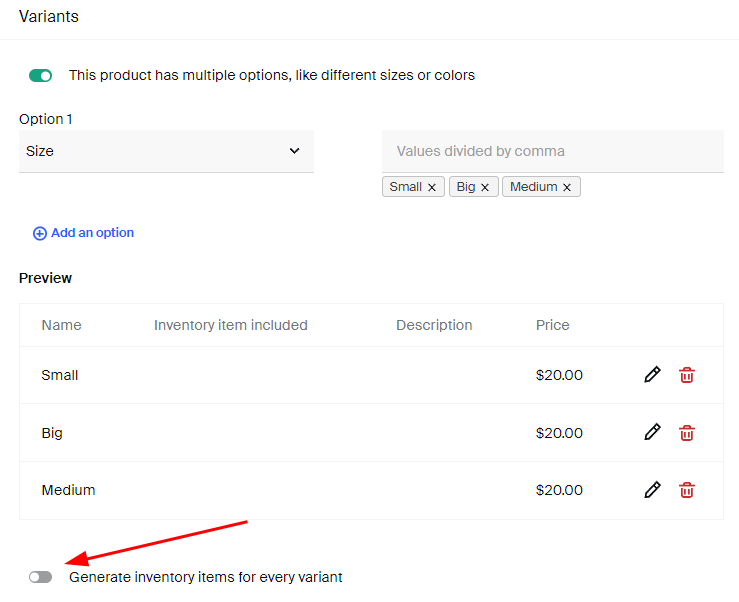
Generate inventory items for every variant toggle will help with automatically generating a separate SKU item within the inventory group based on the variant's names so you don't have to do it manually.
Orders and fulfillment
When you have SKUs added to your products and survey options, the SKUs will always be presented on the order slip after the customer's checkout or after the successful renewal. You can see below how it will look like on the order slip:
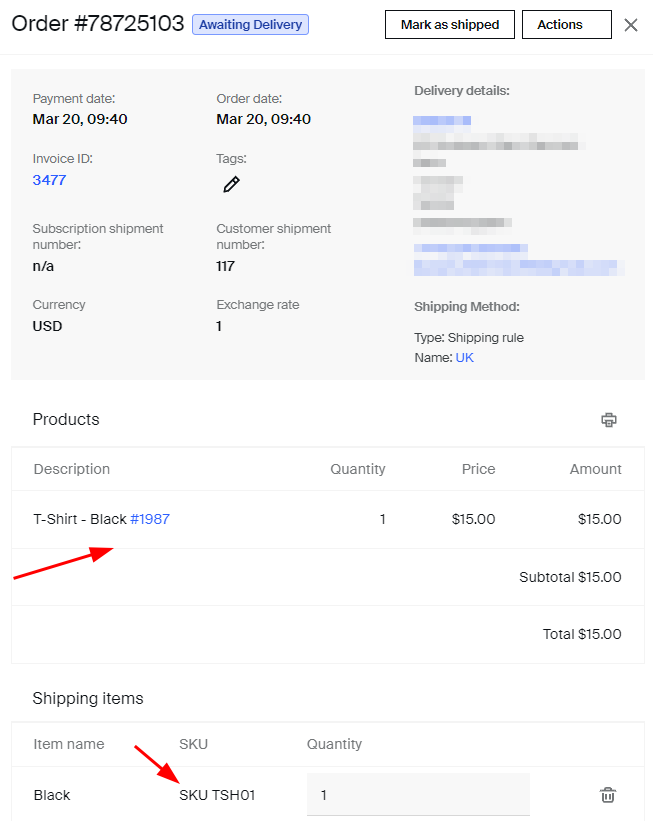
When fulfilling the order, you will be able to also add another shipping item manually from inside the order slip by selecting up another one from the drop down.
Finally, if you'd want to remove some SKU from the order, you can click on the trash icon beside the shipping item in question.
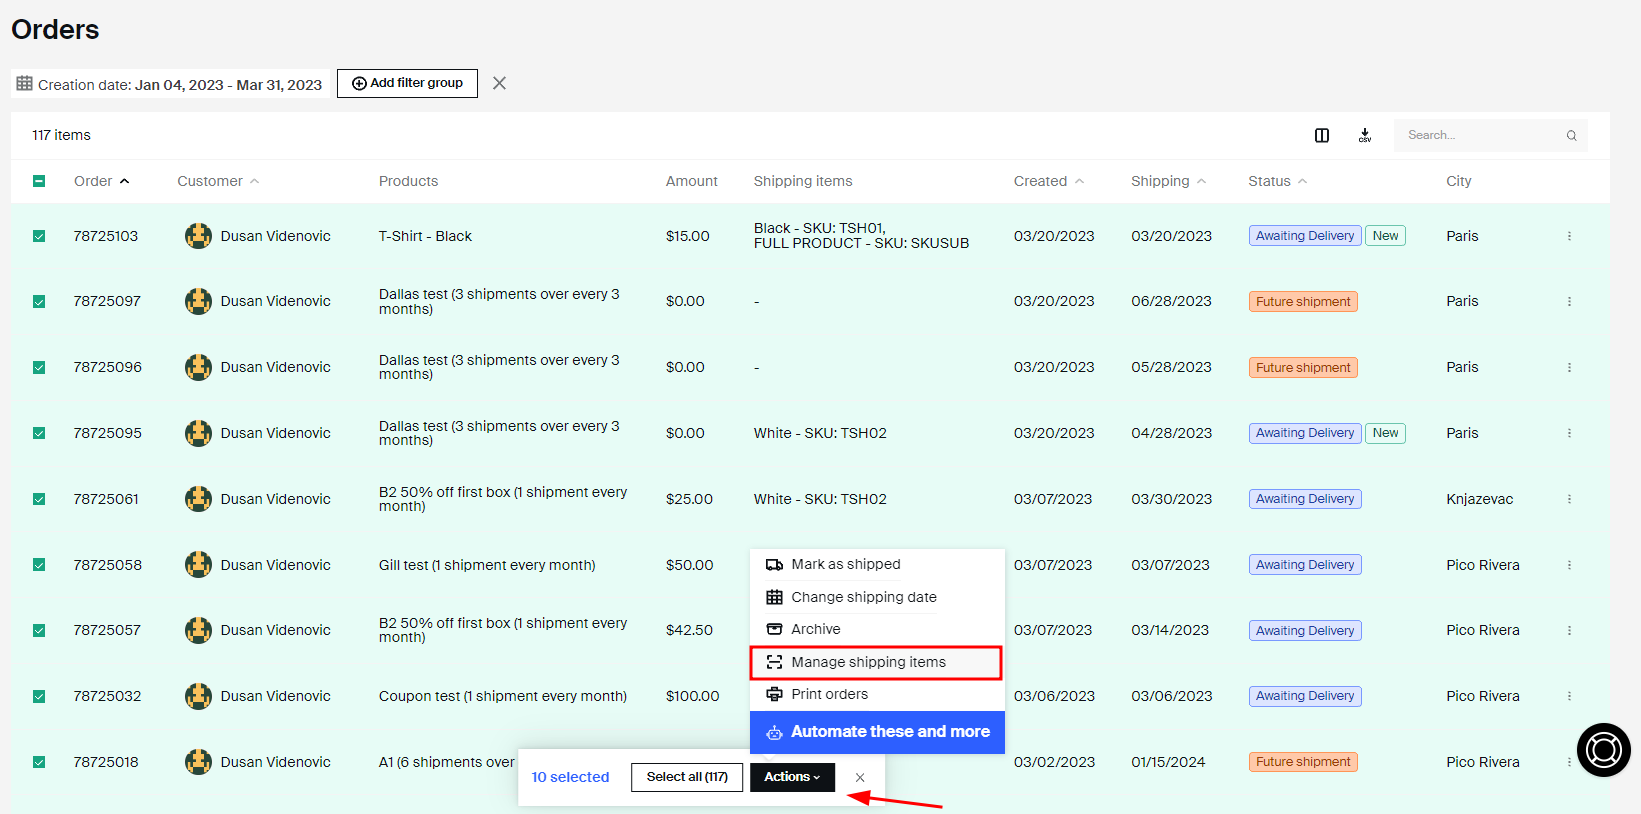
It is also possible to bulk add or remove a given SKU to the orders by going to the Orders tab, selecting the orders in question and then through the Action button choose Manage Shipping Items.
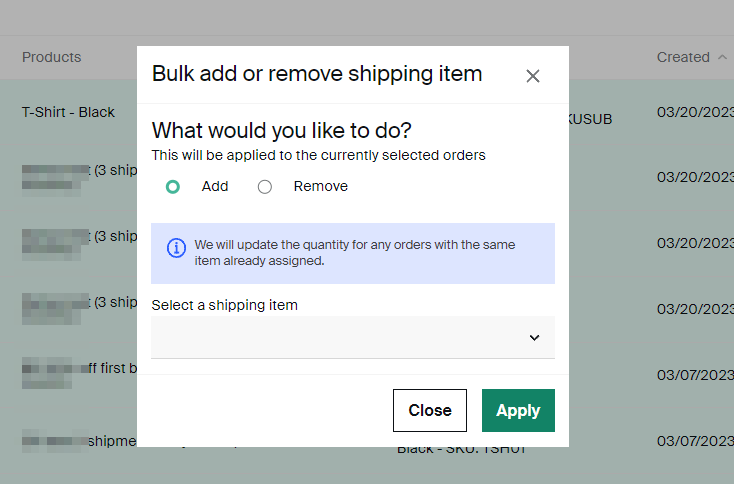
Which will open the following widget:
Keeping track of your inventory stock levels
Once you have everything above properly set, the only thing you need to do is to diligently update the stock levels in the Inventory panel so Subbly can make sure to inform you promptly when one of your items is low on stock.
Explanation of different labels you will be see in your Inventory panel:
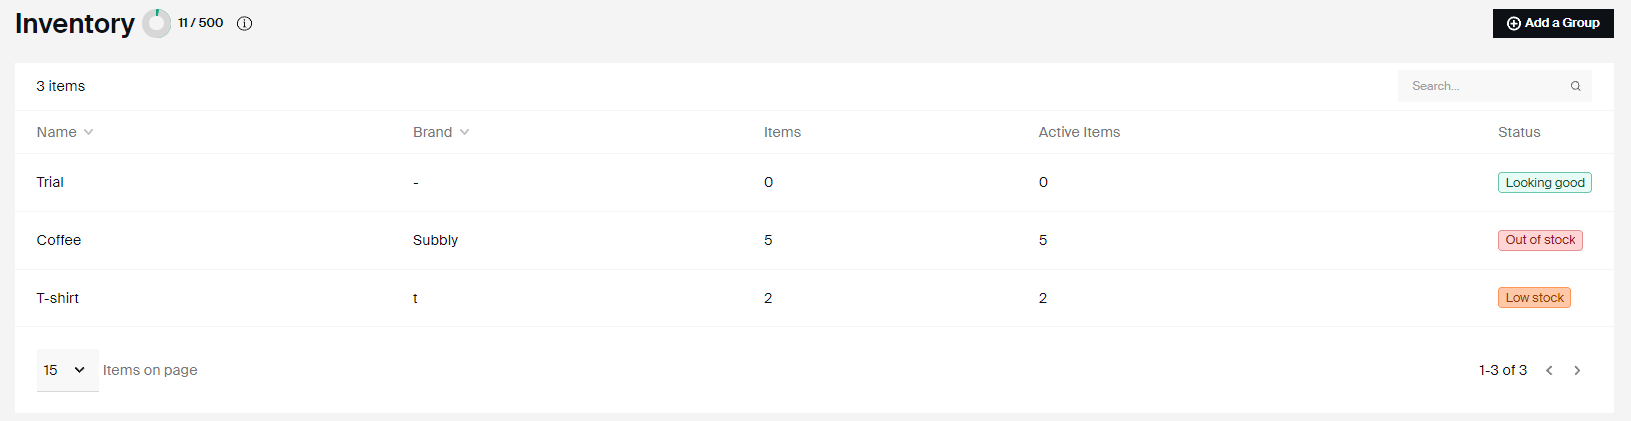
- Looking good - you have decent amount of items on stock.
- Low stock - when you have less than 10 units of certain SKU item.
- Out of stock - when you don't have a particular item on stock anymore.