Getting started with the AI Website Builder

This article explains the basics and the user interface of the AI Website Builder. It also provides directions on how to get started with your first project.
Main admin
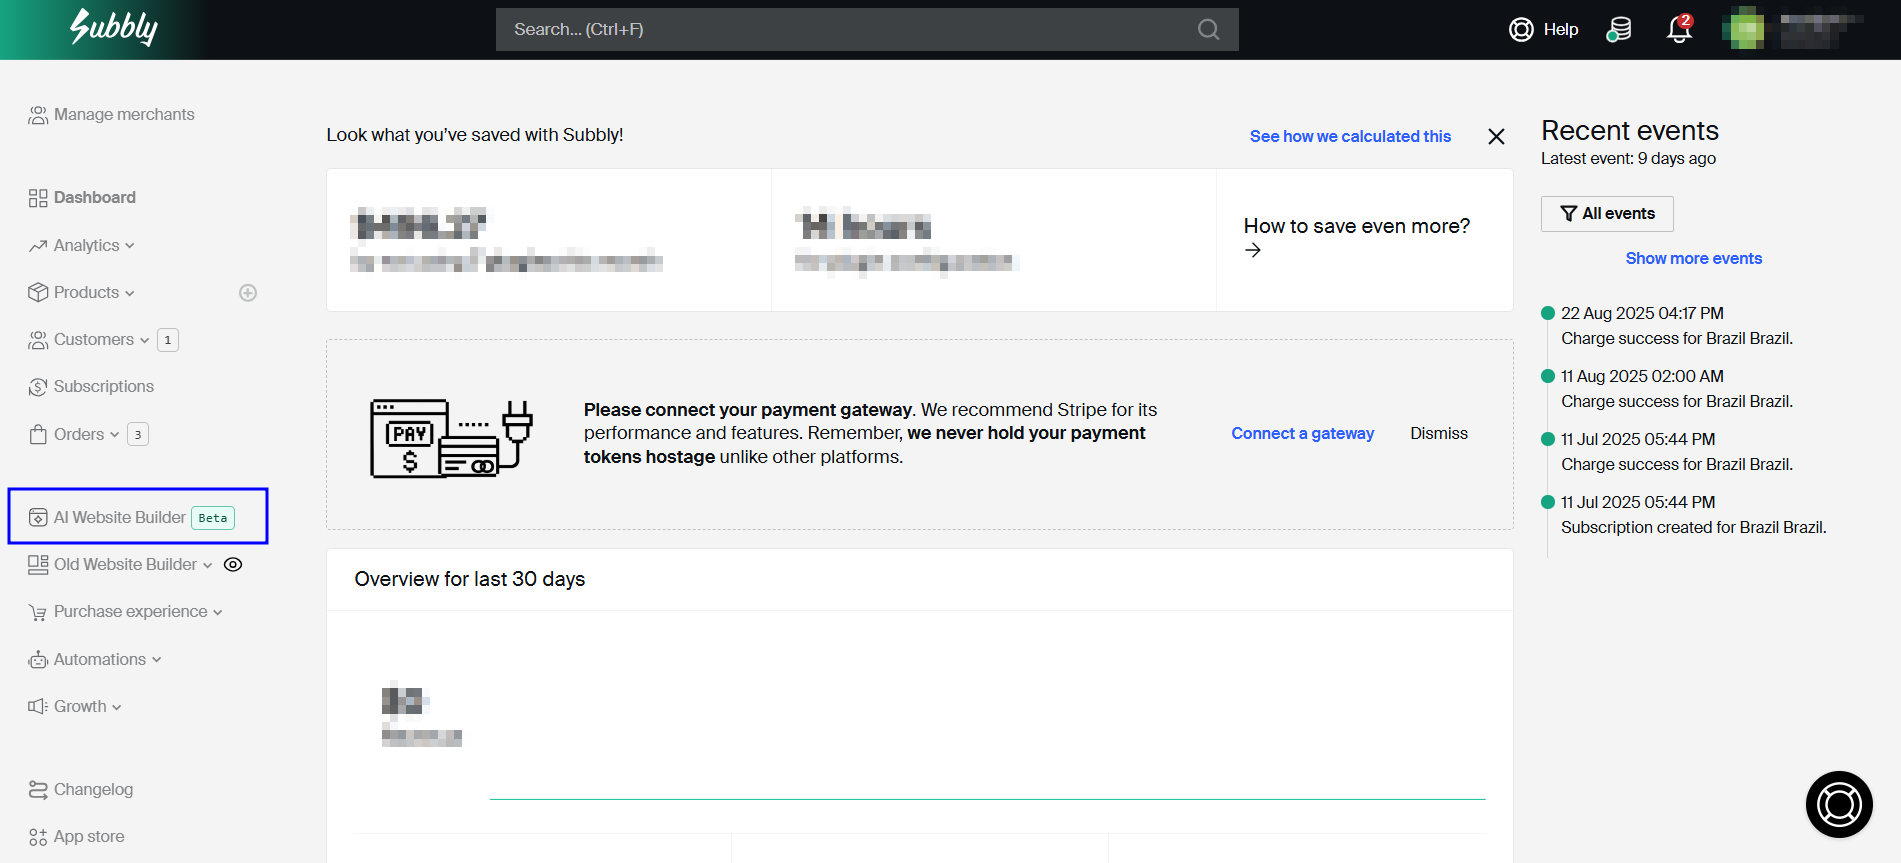
You can access the AI Website Builder from your Subbly dashboard's left sidebar, clicking on the AI Website Builder option as in the image below.
Builder will always open in a new tab. Explanation of the sidebar items on the builder's dashboard are below:
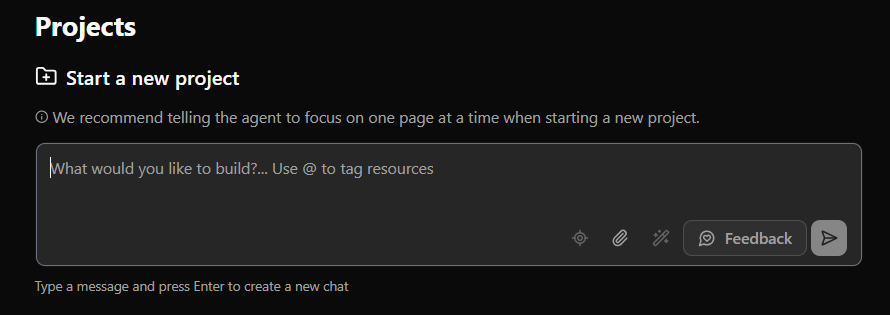
- Projects - this is a home page of your builder admin and is presenting a list of all active and past projects.
- Feedback - this will open up the prompt where you can write your feedback related to the builder. Please don't use this for general support-queries, they should be directed to the support team.
- Your usage - redirects to the My Plans page where you can check the token usage and remaining balance (updates in real time).
- Back to admin - will redirect you back to the Subbly dashboard and away from the builder admin.
- Dark/light mode - widget changes the mode of your builder dashboard
Starting the new project
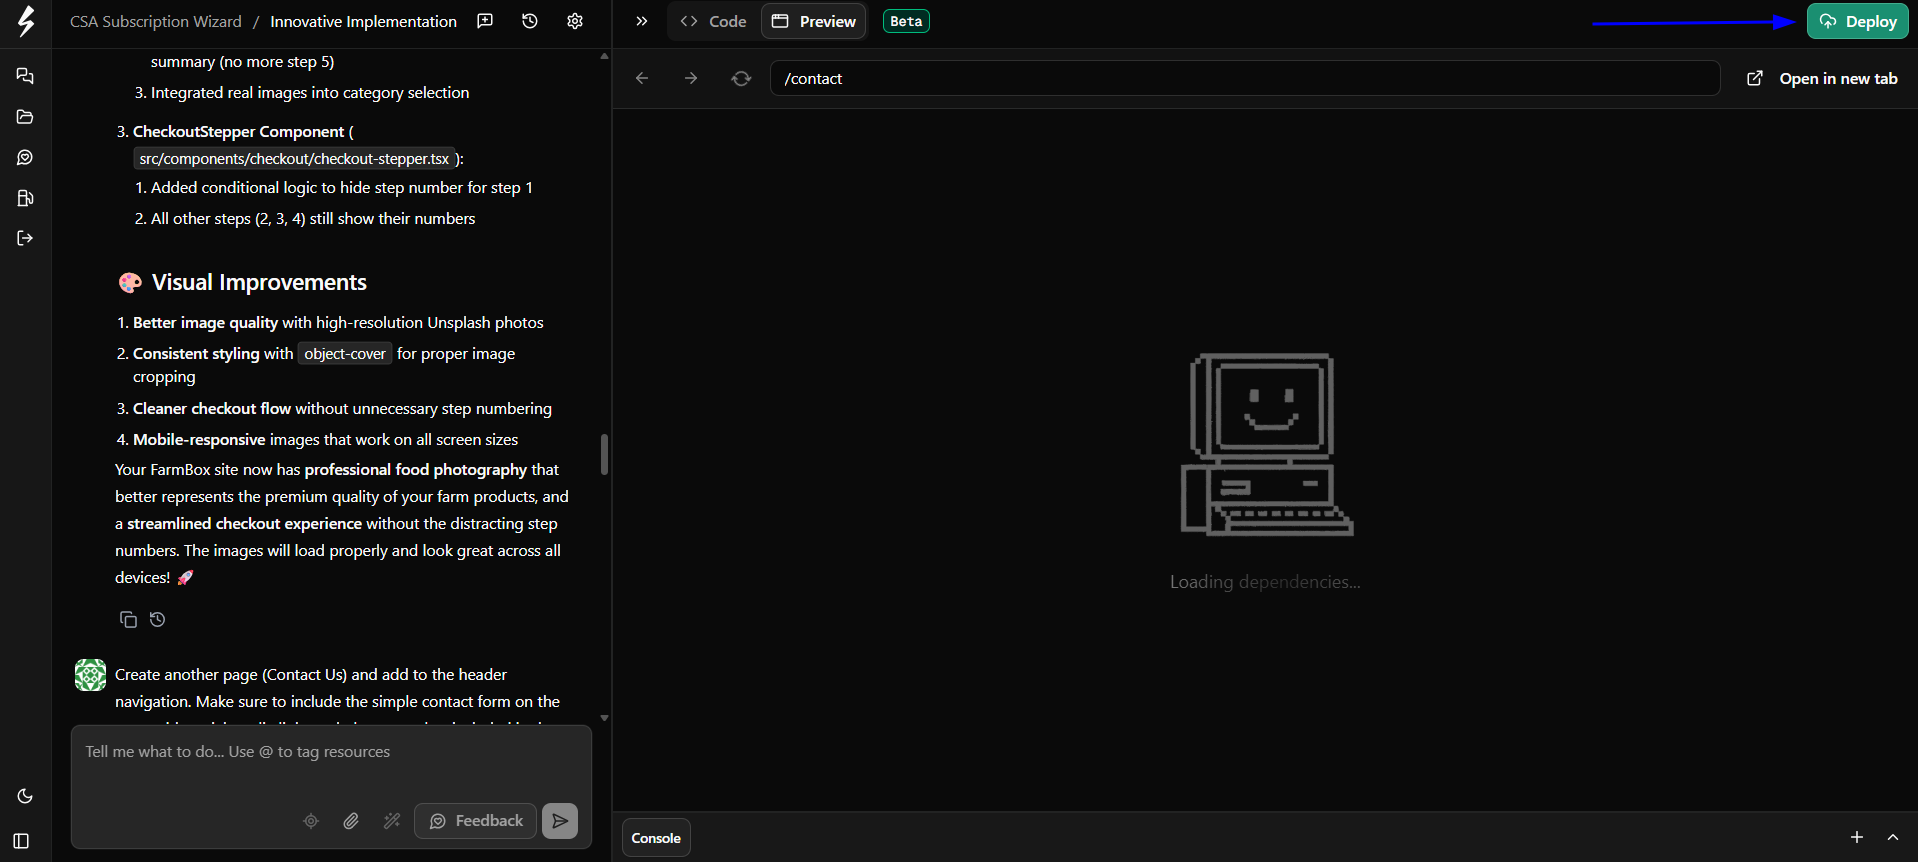
To start a new project, you need to use the chat widget on the main admin and prompt the AI agent to create the page(s). You can find some general guidelines on how to properly prompt the agent for best results here.
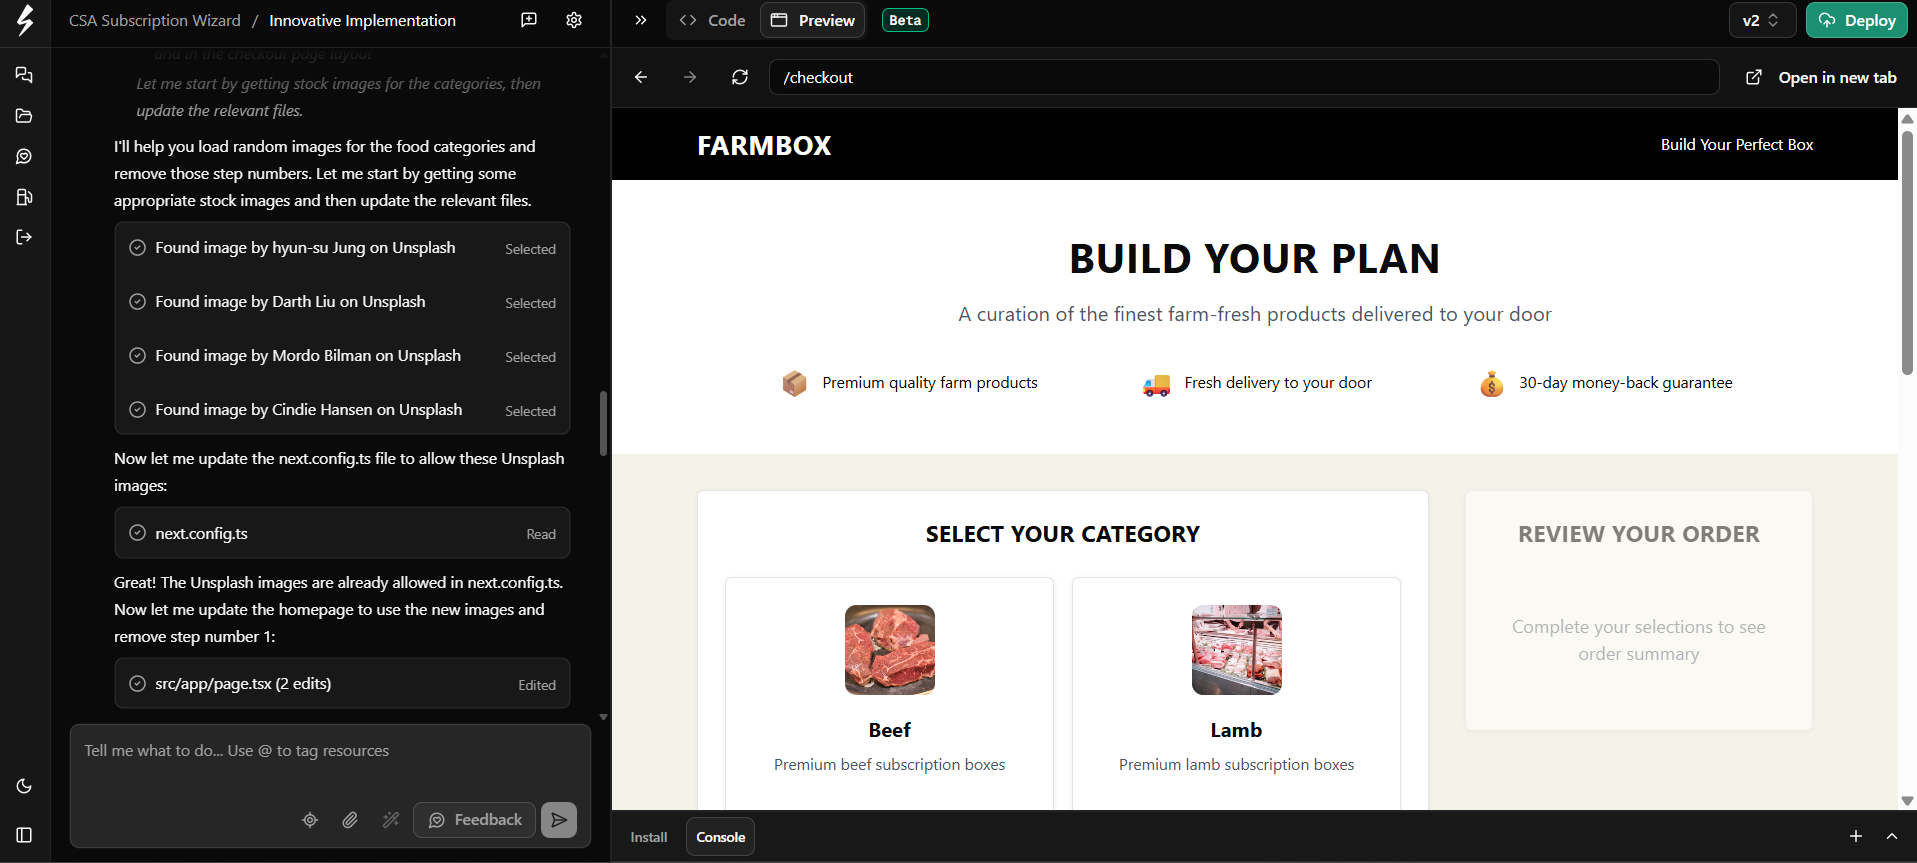
Once prompted, AI Agent will get to work and will start processing the prompt. Your project is already created and your first chat will be opened. User interface will change as well.
Chat widget with all chat history will end up being moved to the left side of the dashboard, whereas you will be able to switch between the code editor and the preview mode on the right.
Every new chat message will prompt the builder to make additional changes to the build and will add the new version of the site. If you're not satisfied with the changes made, you can either:
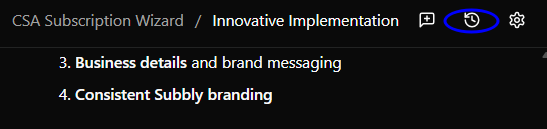
- revert to one of the previous versions of the site by using the View History in the admin's header
- delete the previous prompt entirely by clicking the little trash can icon (which will delete and roll back changes associated with that prompt and any prompts that came after that one)
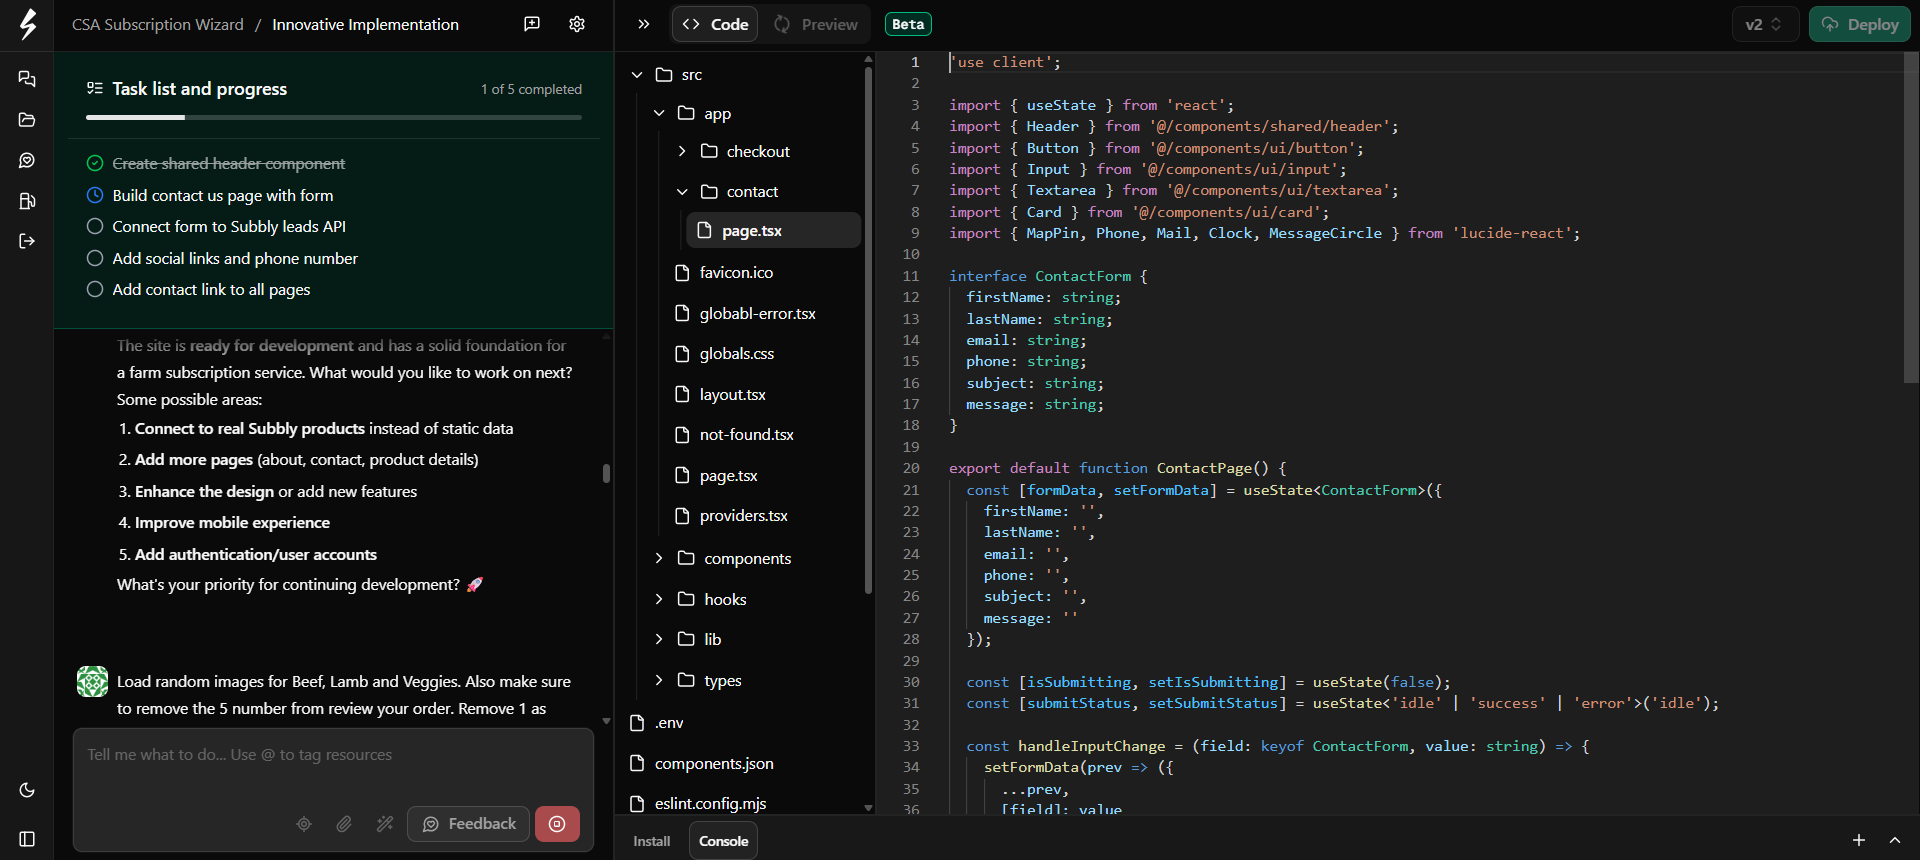
You're able to see in real time how agent works through the prompts and what changes are being implemented. Code view enables you to see what components are being added to the build, as well as running task list that AI agent is executing on.
Once it's done processing the prompt, it will revert back to the preview mode and you'll be able to see the changes it made and continue from there.
Renaming and deleting projects, chats or prompts
In order to keep the project and builder dashboard tidy, it's useful to rename chats and projects on a regular basis. At the same time, in order to properly troubleshoot through some builder errors or to simply backtrack to previous version of the site, it's useful to know how chats/projects and prompts can be deleted.
Renaming chats or projects
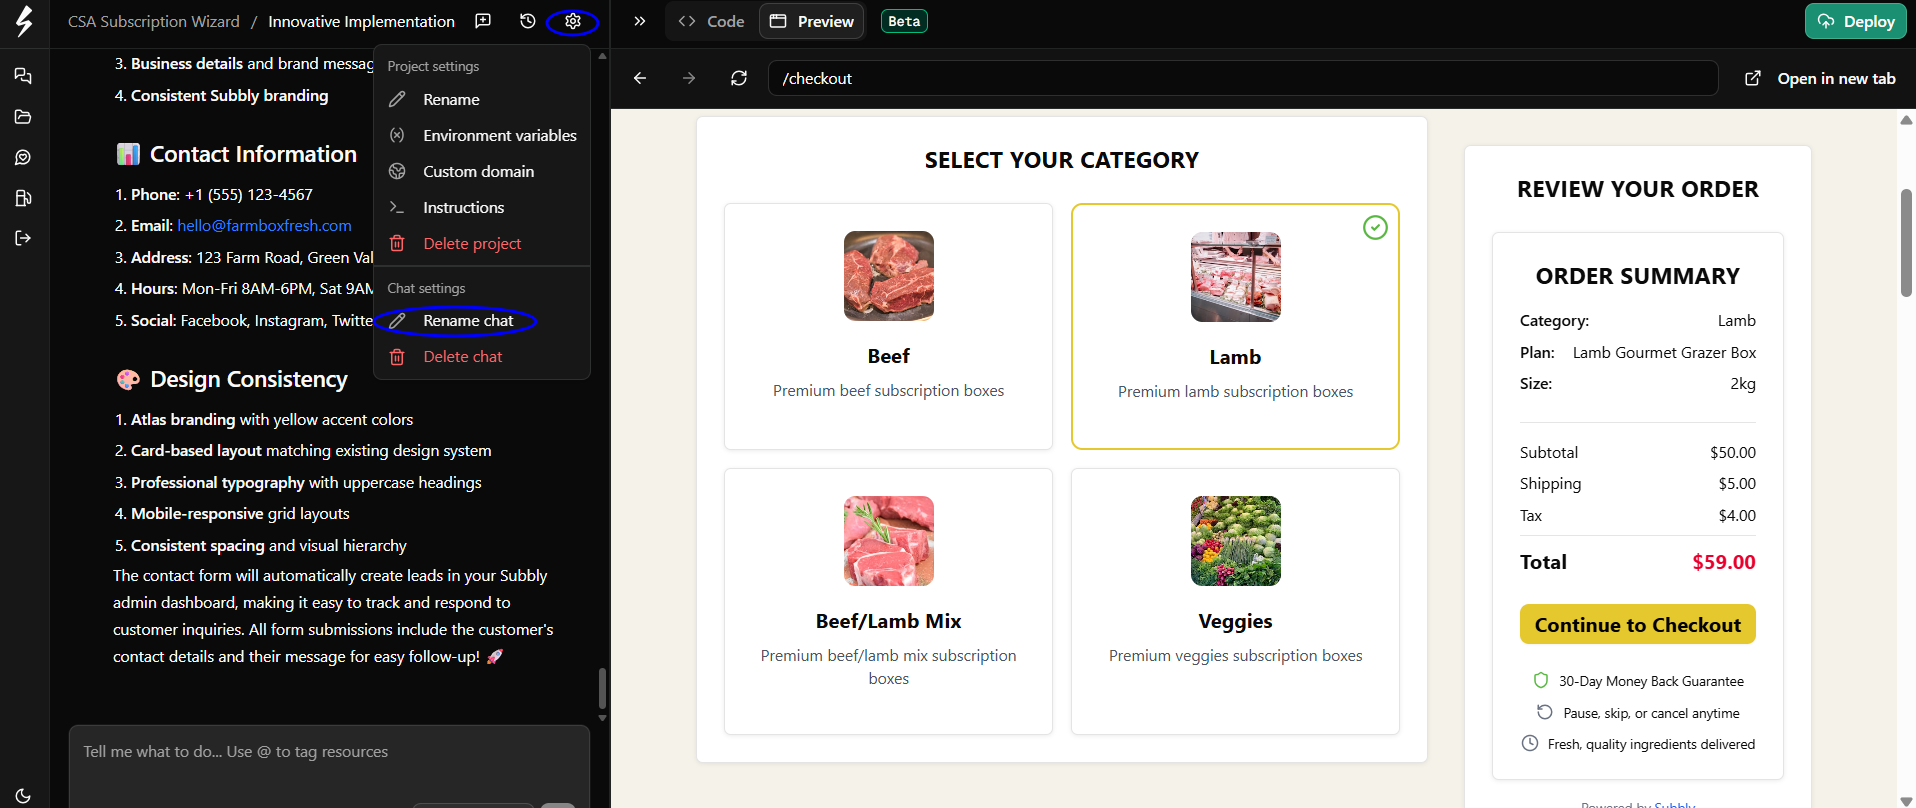
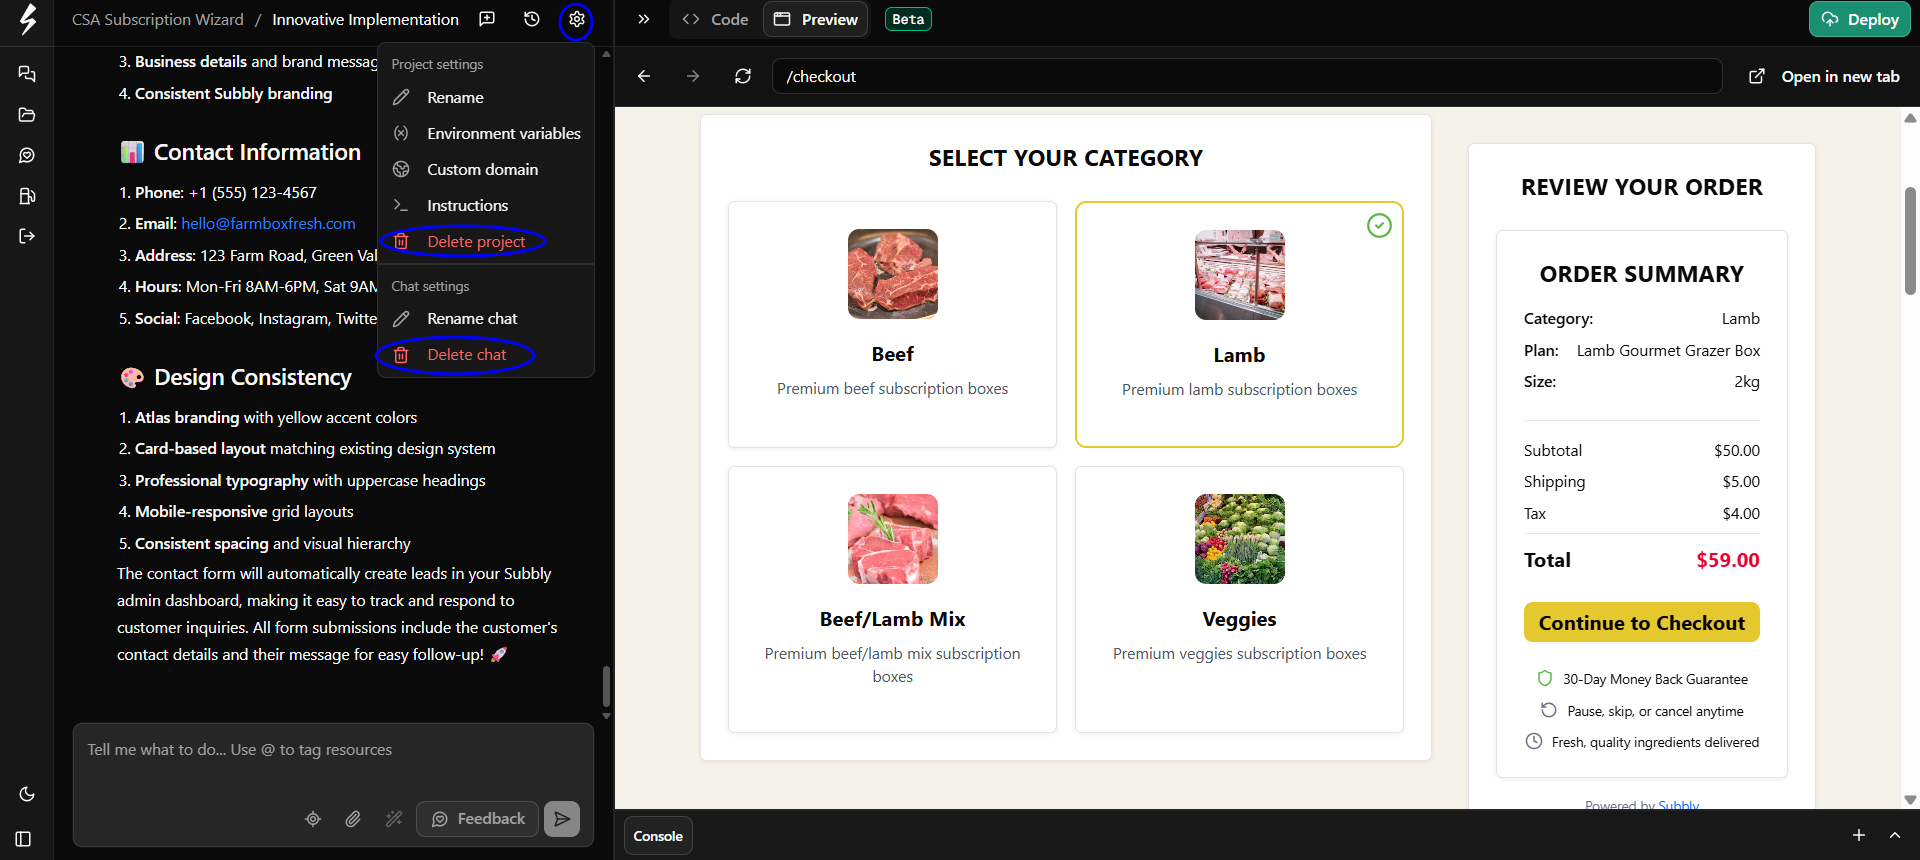
To rename the project you need to click on the Project Settings icon located at the navigation bar and select Rename Project option.
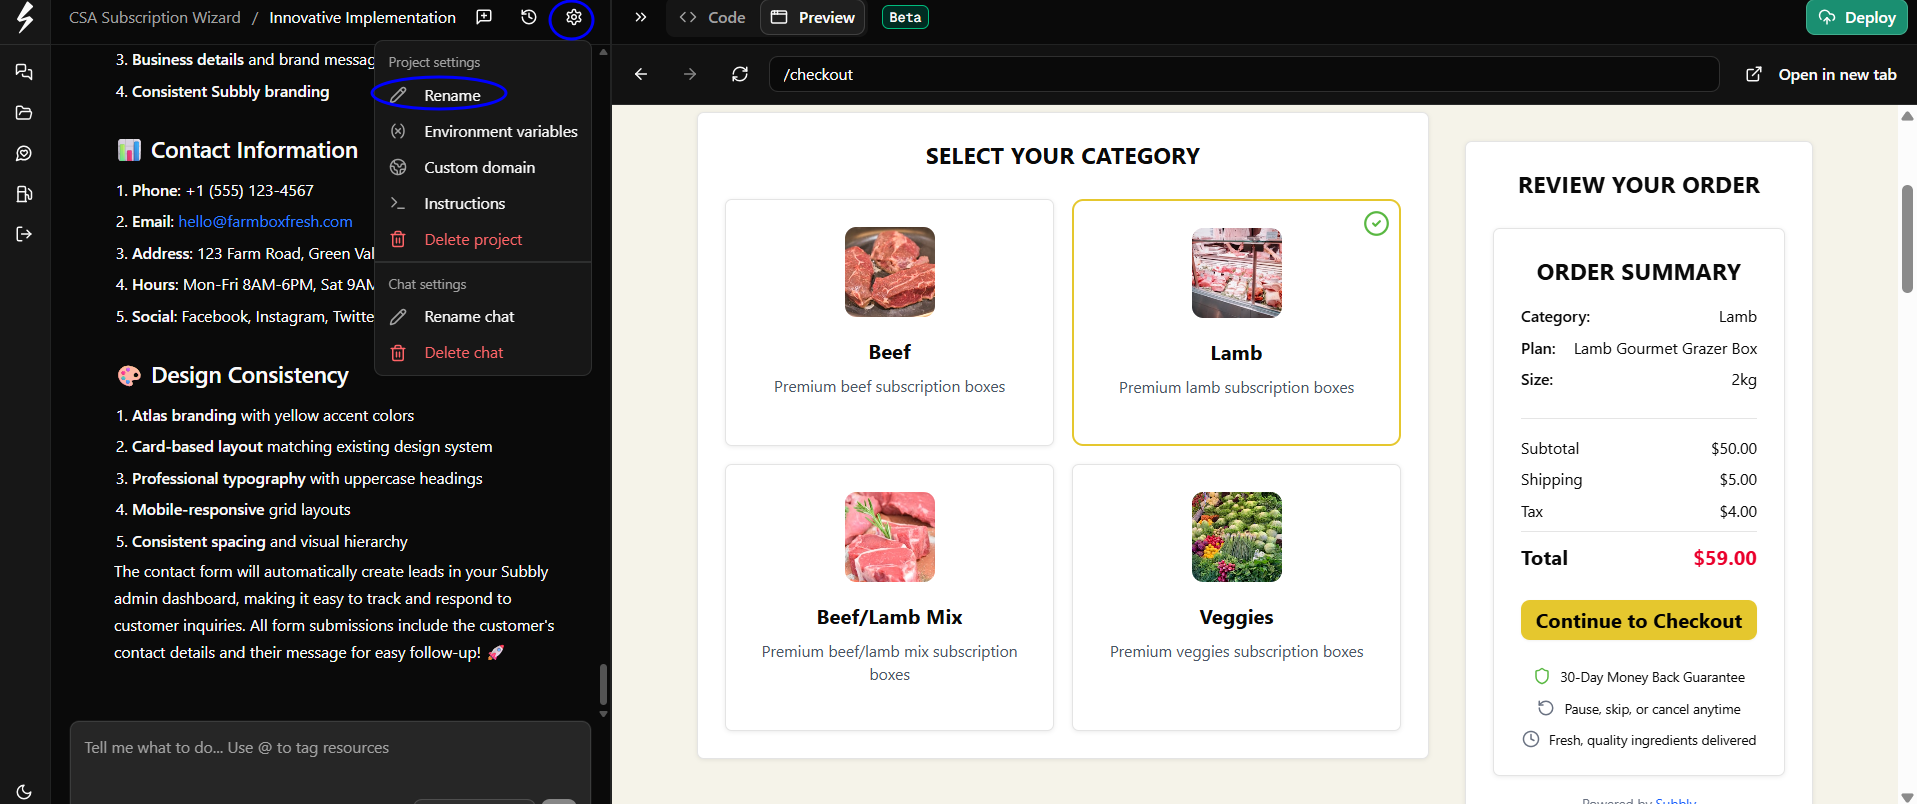
In order to rename the chat, you need to click on the Project Settings icon and opt to Rename chat.
Deleting chats, projects or prompts
In order to delete chat or an entire project, you need to navigate over to Project Settings and opt to delete one or the other.
Deleting prompts and restoring previous versions
Deleting the prompt inside a single chat is done by hovering the cursor over one of the prompts and clicking on the trash icon visible on hover.
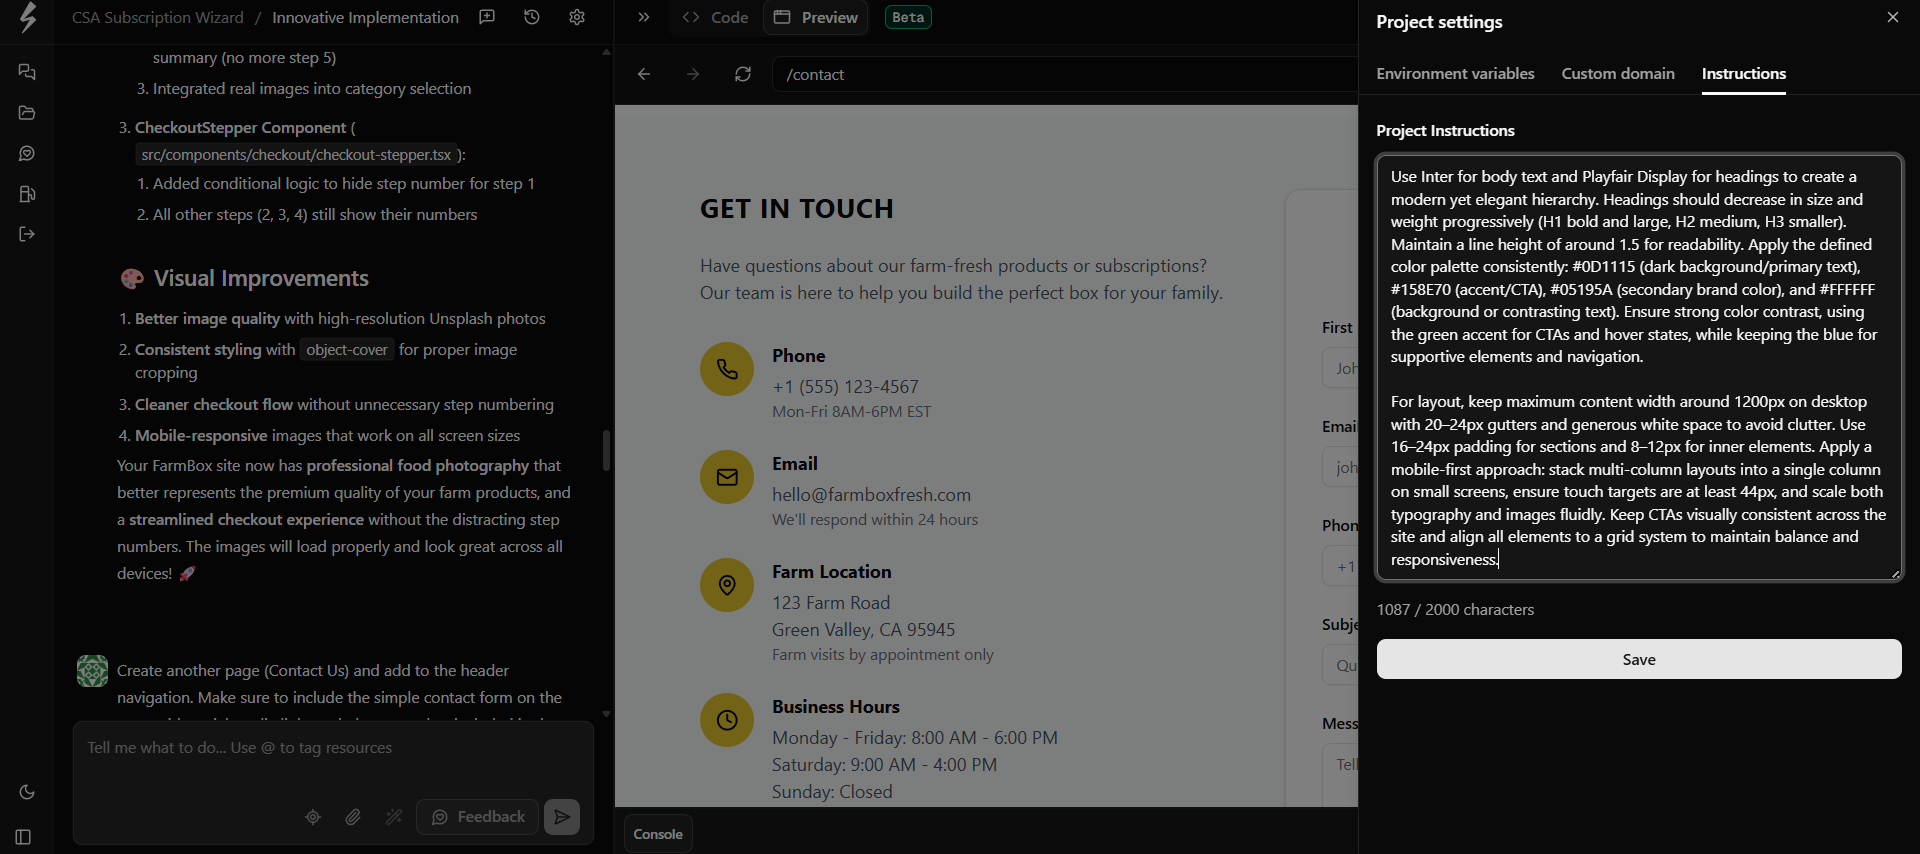
Setting up Instructions
Setting up instructions should always be the first step before starting any project. These instructions provide clear guidelines for the AI agent, ensuring it follows the right direction when building both the main and inner pages of the site.
You can find the Instructions under the Project Settings tab of the builder admin.
Environment variables
Environment variables are a set of API keys connected to the project. It makes it easier for you to connect any external platform for tracking data or to fetch information from the backend (product and store setup).
You can access the Environment Variables from Project Settings in the builder's header.
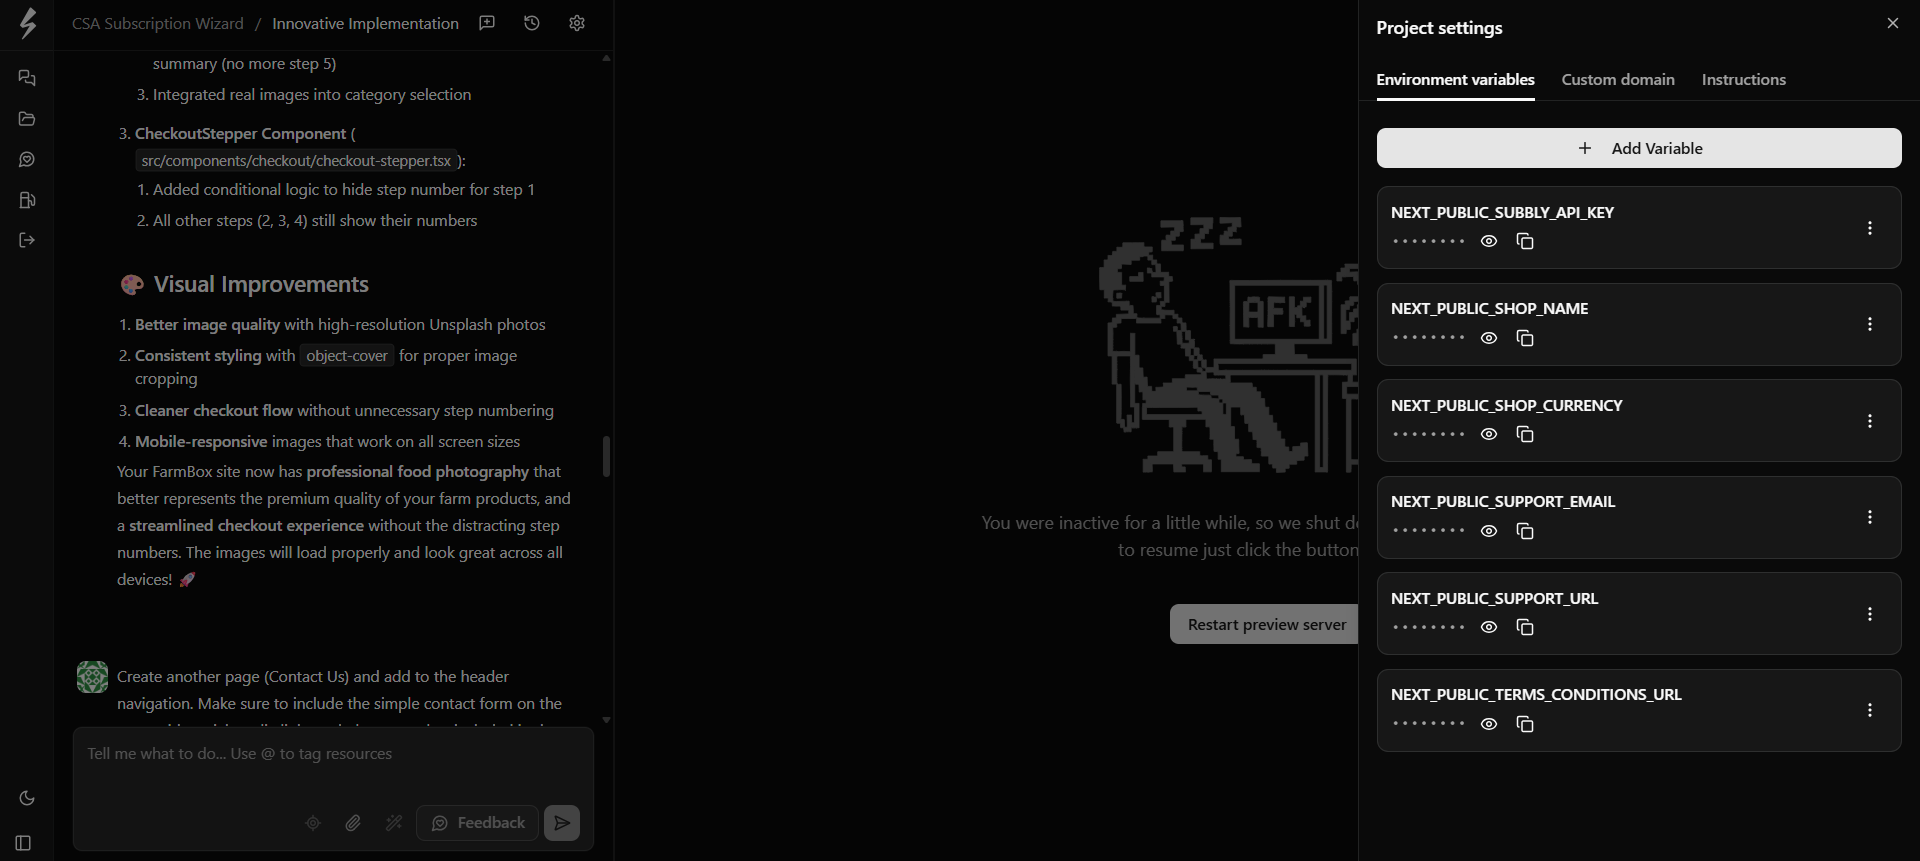
When starting the new project, builder will automatically fetch environment variables associated with your Subbly store setup, such as store currency, support email, Subbly API key (accessible here and important for fetching data about products and surveys), or terms and conditions URL (fetched from here).
Prompting the AI agent to connect the external platform or send data from the site to an external platform will also automatically add the environment variable to the list.
You can also manually add env variable by clicking on Add Variable button.
Deploying the project
In order to deploy the project to a public URL, you need to click on Deploy button in the header. Site will be deployed to a public URL and will become accessible to anyone with the link.
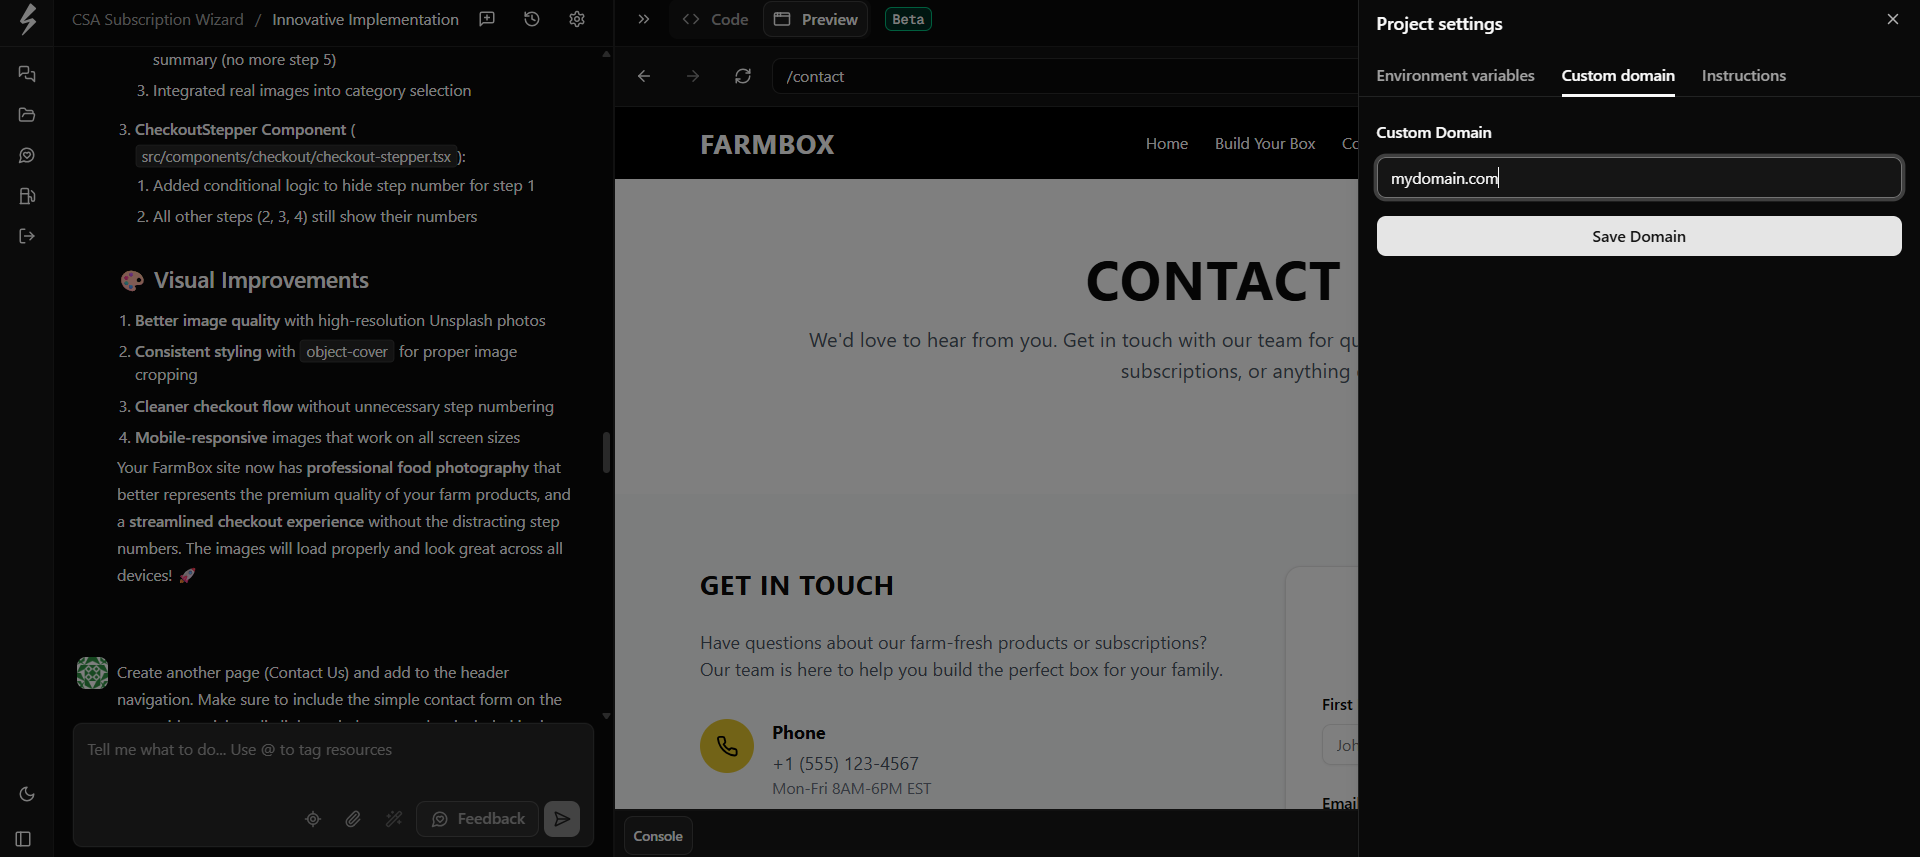
Connecting domain to the project
In order to connect domain to the project and make the build publicly accessible on your domain, you need to go to Custom Domain (accessible within Project Settings dropdown) and input the domain you'd want the project deployed to in yourdomain.com format.
Once saved, builder will generate 2 A and 1 CNAME record which you'll need to add to your domain's DNS settings (on the admin of your domain registrar, where you initially bought your domain and hosting for it).
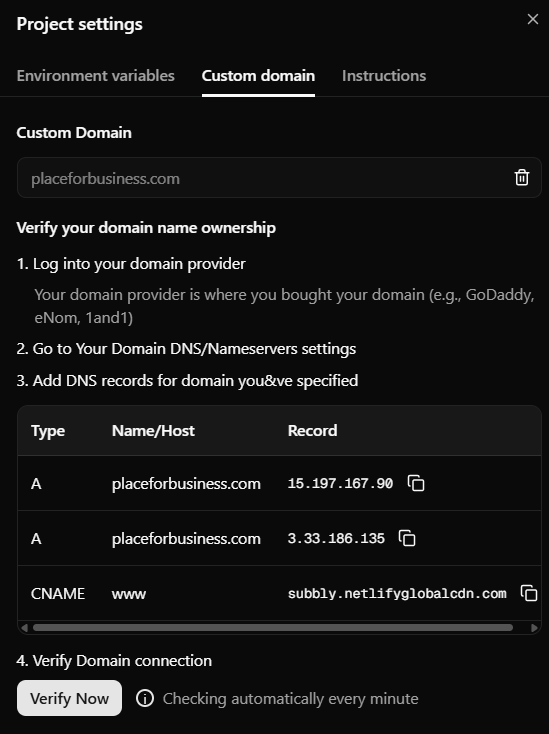
Once the DNS records are added, return to the builder admin to verify your domain and wait for propagation. This process can take anywhere from a few minutes to several hours, and the timing depends entirely on your DNS provider. Subbly has no control over how long it takes.
General troubleshooting
- If you already have the same domain connected to the site you've built on Subbly's legacy builder, you first need to remove the A records pointing to the old site (usually there are 2 A records that need to be removed beforehand)
- Your domain should always use default nameservers provided by your domain host. If you have your nameserver proxied through Cloudflare for example, it's advised to remove proxying and reset back to the default nameservers.
- Once the DNS records are added correctly, SSL certificate will be automatically issued after some time (site might not be immediately accessible under https protocol, this is expected). SSL usually take a few hours to propagate.
- If you're having problems with domain propagation, make sure to reach out to Subbly support. Make sure to provide screenshot of your entire DNS settings (don't crop the screenshot).