Languages App
Useful if you're having multi-language customer base and you want to build different pages for different languages
Video tutorial
We did record a video tutorial on this and we combined it with setting up multicurrency on your store. Make sure to check the video to better understand the entire setup.
Getting started
To get started with a new language please go to your Dashboard > Languages app. Here you will find all the languages currently supported on your website.
To add a new language, click Add New Language.
A dialogue window will appear for you to choose a language you want to add.
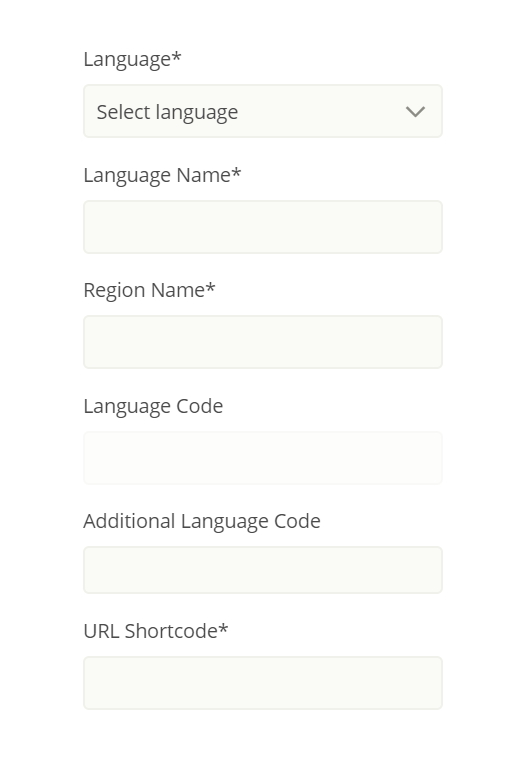
In this tutorial we will add Spanish as the second language, but you may add any language you prefer!
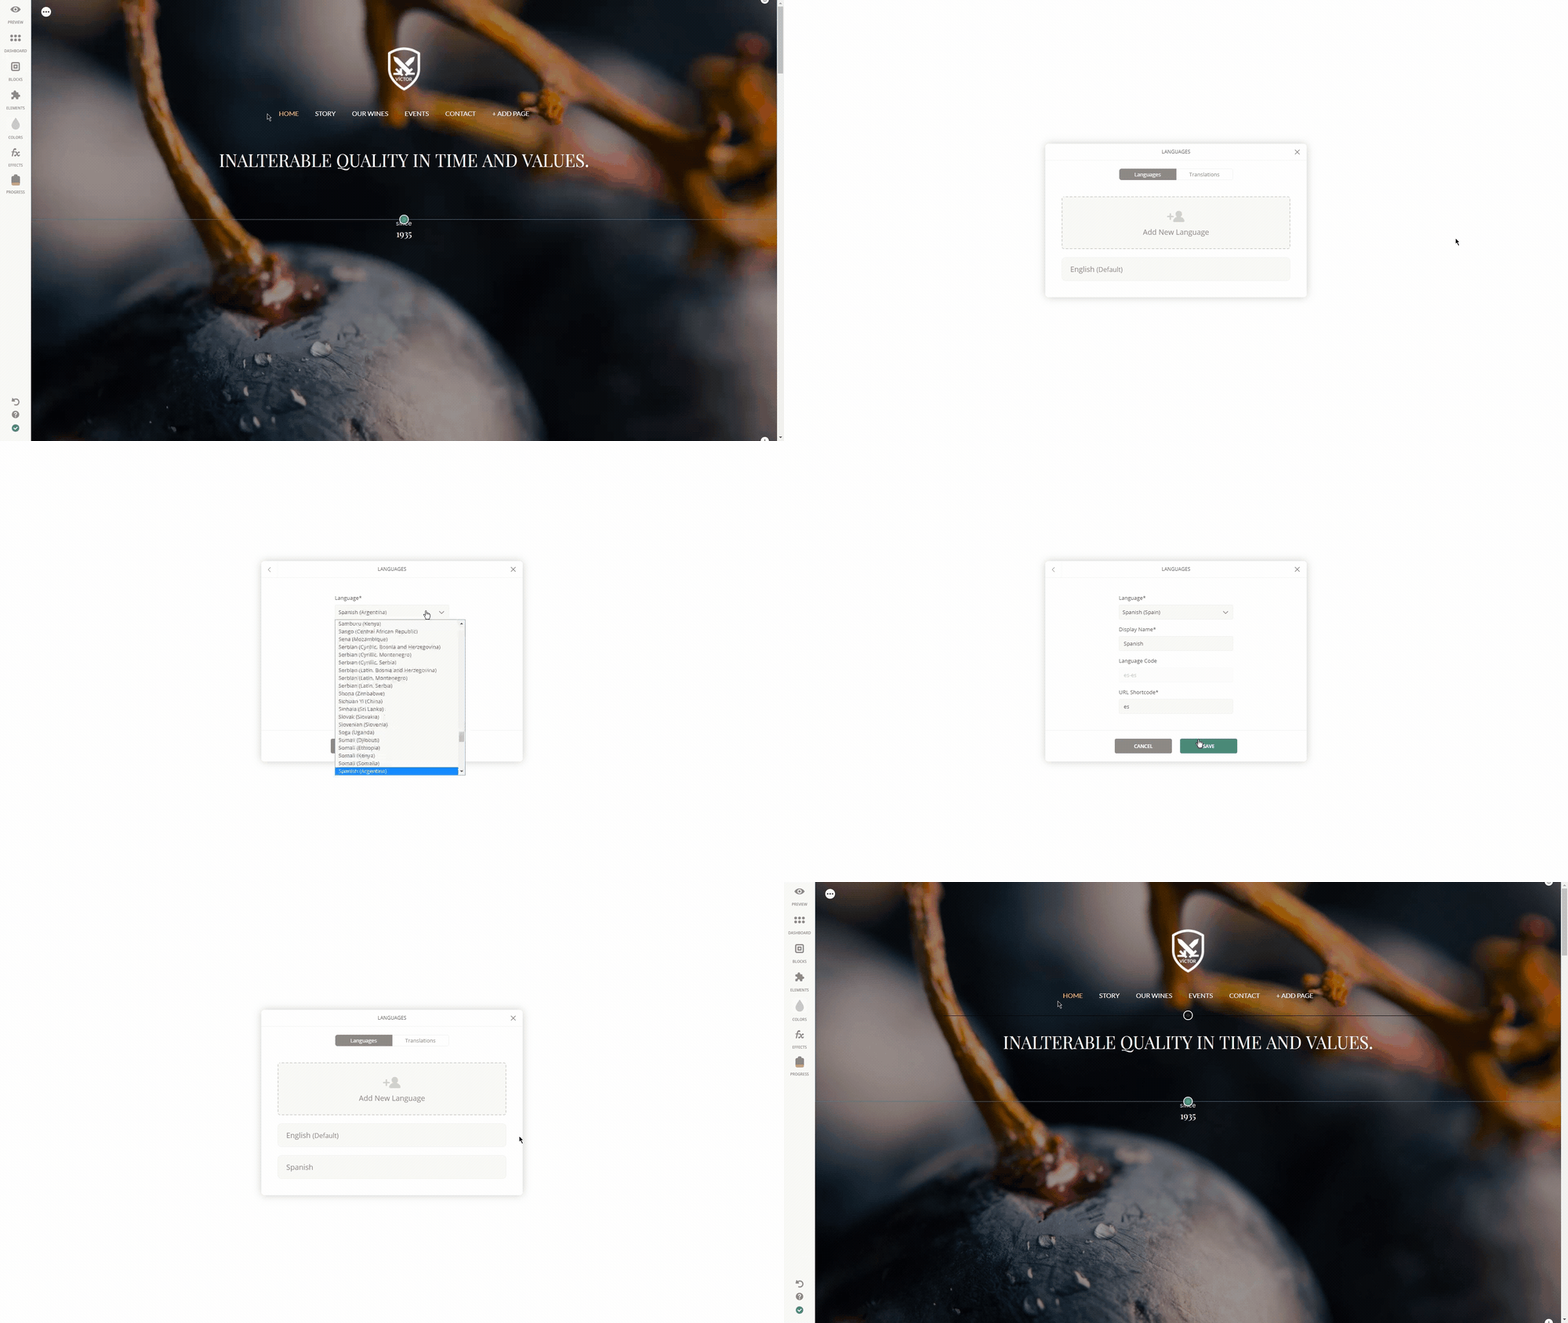
Once you've selected the language from the drop down menu, the rest of the required fields will be filled automatically! So let us introduce the fields one by one.
- Display name: This is the name of the language, which will be shown on your website's public view for your visitors to choose. You can leave it as it is, or you may change it to any other name. For example - Español.
- Language code: This field is pre-filled and can not be changed! Search engines, like Google, will use this language code to better understand your website language and to preview your website's content which is in Spanish to users who search for it.
- URL Shortcode: This field is pre-filled as well but can be changed later on. We will use this code in the URL of your website (http://www.mysite.com/es) to serve your Spanish content to your visitors.
After clicking the Save button, the system will add the Spanish language to the list of available languages! However, it will not be visible to your visitors yet!
That's only because you don't want to show the new language to your visitors, as you haven't translated the content of your pages yet.
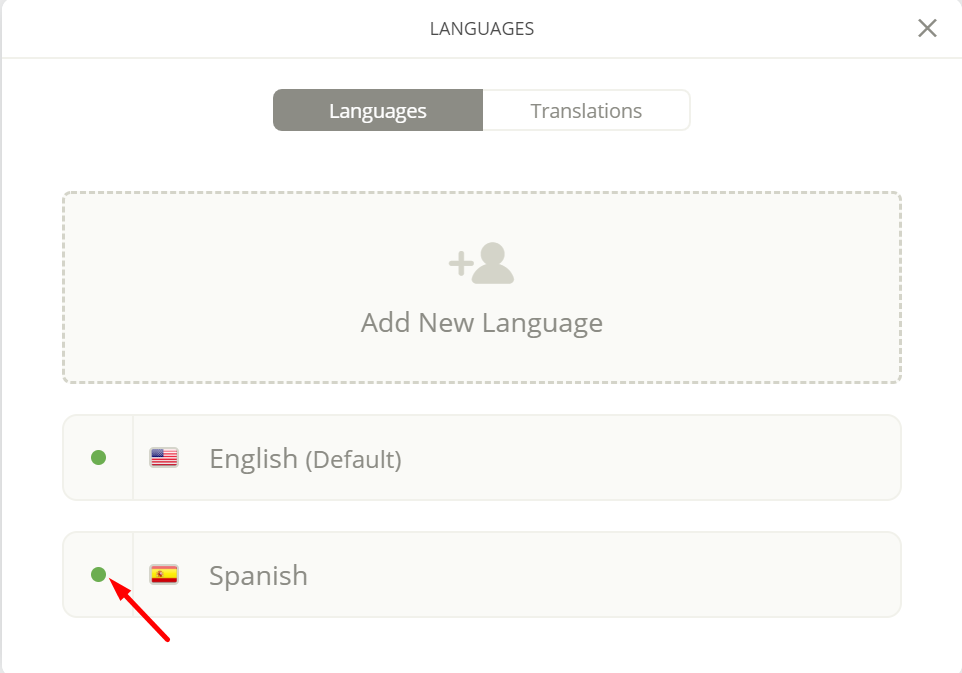
You can also Publish/Unpublish the languages simply by clicking on the green dot on the left side of the language. It will turn red if unpublished. You can publish it again when your full content is ready to be shared with your site visitors.
Translating the site
After adding the second language to your website, you will notice a small language switcher at the top left of your Dashboard > Pages App.
It will allow you to switch between the active languages to translate them instantly!
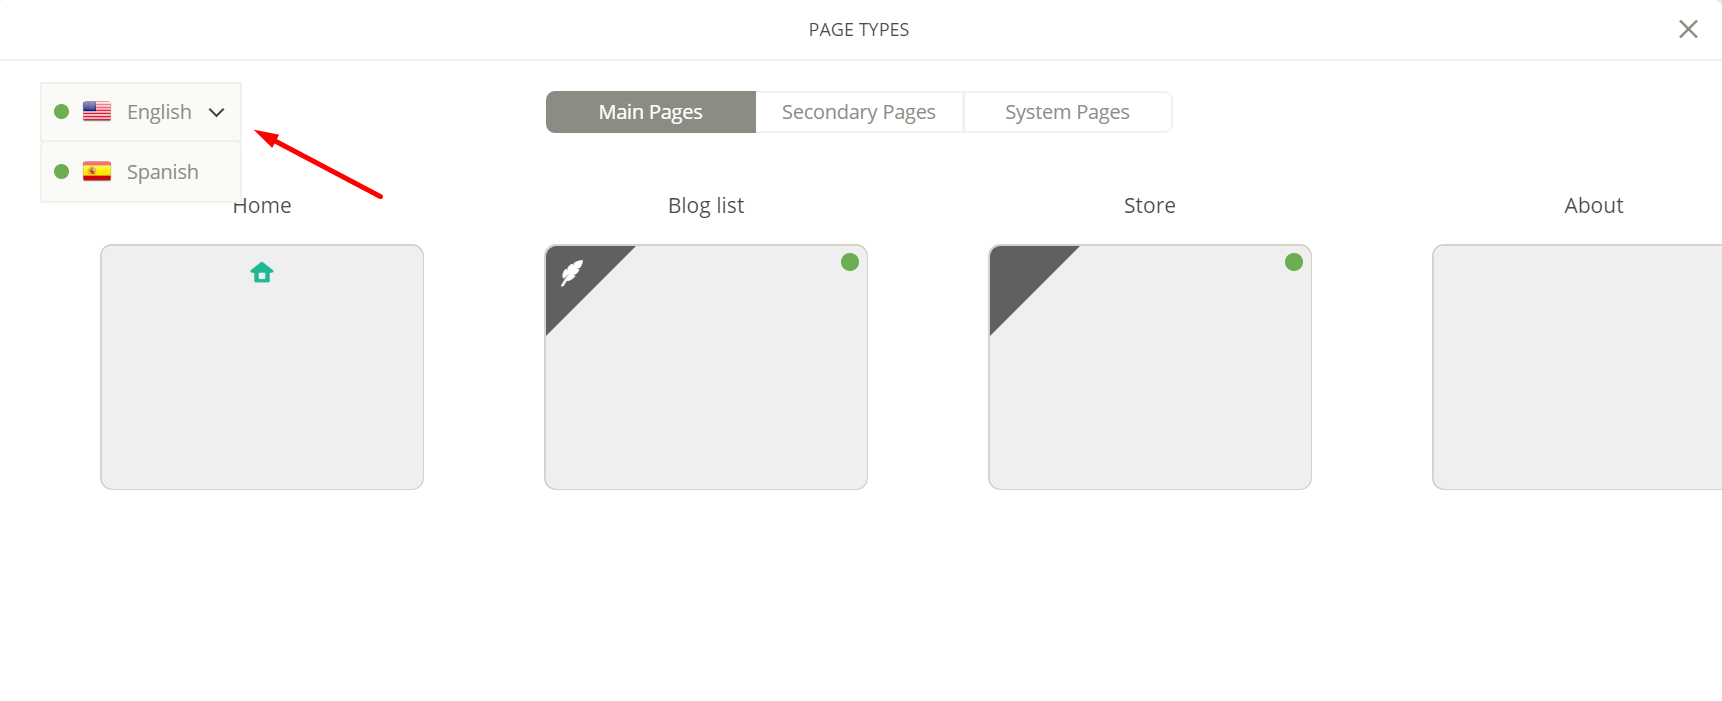
When you create new pages in your default language (English) in future, the system will bring that page to your other languages as inactive!
To translate those pages, please select your desired language from the drop down first (Spanish in our case), hover over the duplicated/inactive page and click the Clone button!
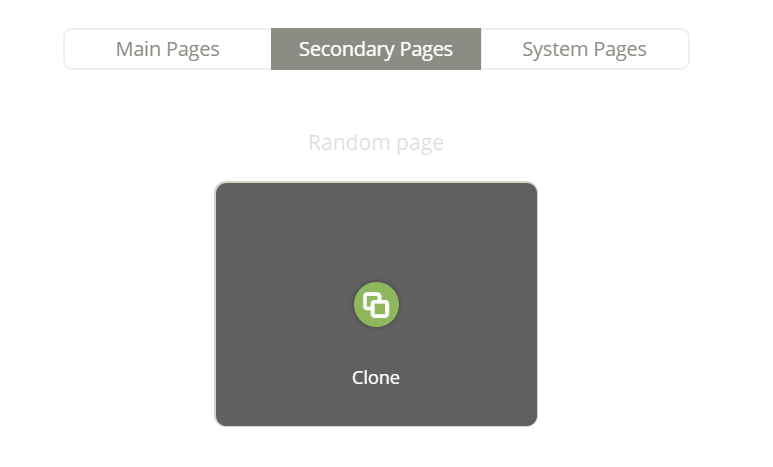
This will clone the original page from your English version to Spanish with all the page content, including the Titles, Paragraphs, Images, Sliders, etc..
Now when your pages are cloned to Spanish, you may go to that pages directly and start translating the content. Use all the tools that you were previously using in your English version to edit/add/remove the elements.
Please go through all the pages in the Spanish version of your website and make sure that all the pages, including the System Pages, like 404 page, Offline Page, Password Protected page, are thoroughly translated.
When you are done with all the pages, you may now publish your multilingual website!
Adding the Language Switcher to your store front
Back to the home page now! Drag and drop the Language Switcher element into the Header section of your website.
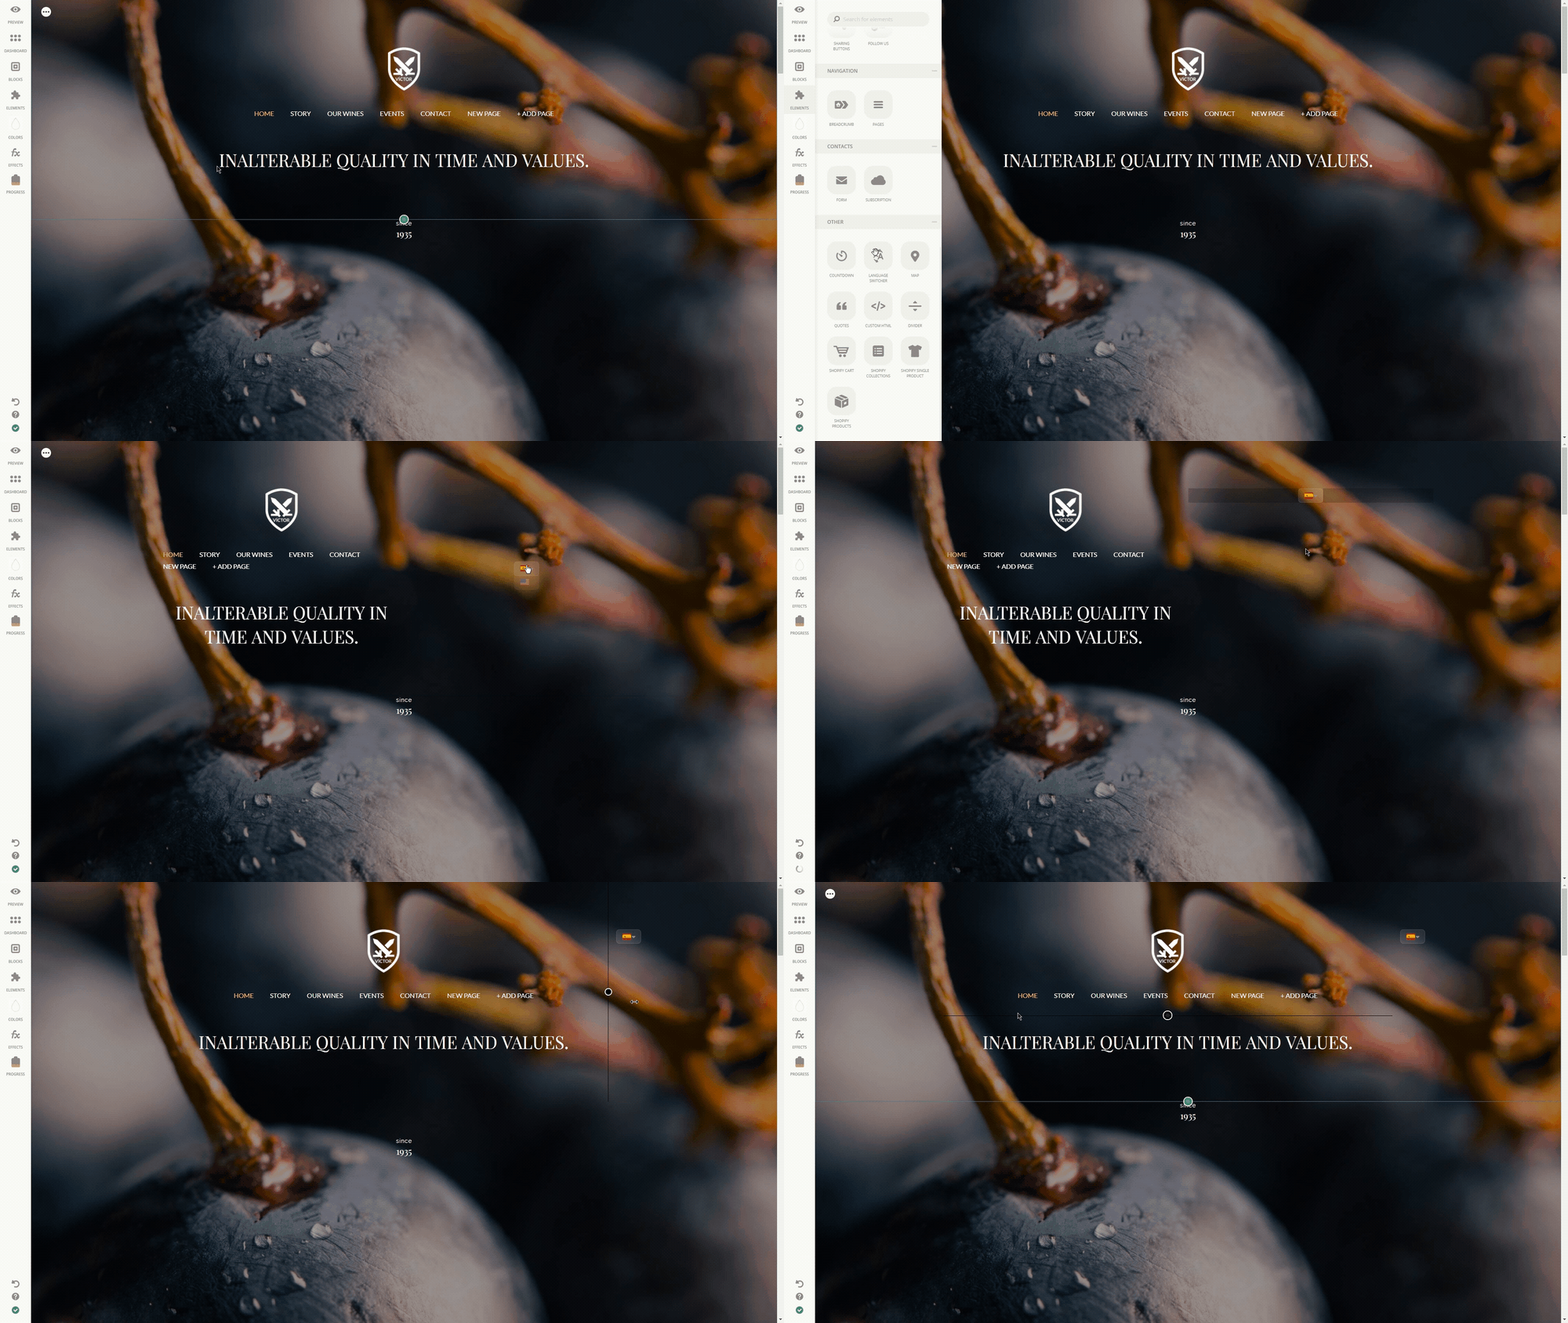
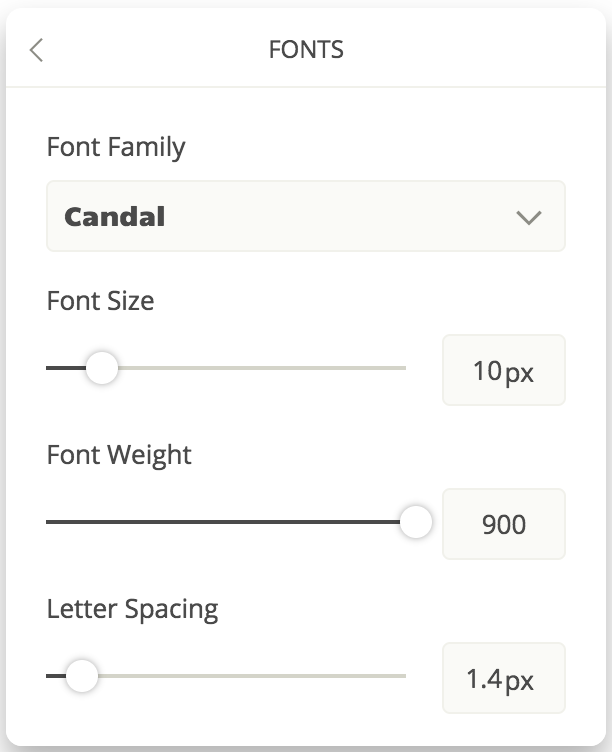
You are free to edit the style of this element (fonts, borders, height and colors). In the Fonts section you can edit the Font Family, Size, Weight and Letter Spacing.
In the Borders as well as as the Height section you can customize the looks of the button itself. You can change height, width, padding size as well as the shape of your button to make it more curvy or more squarish depending on your preferences.
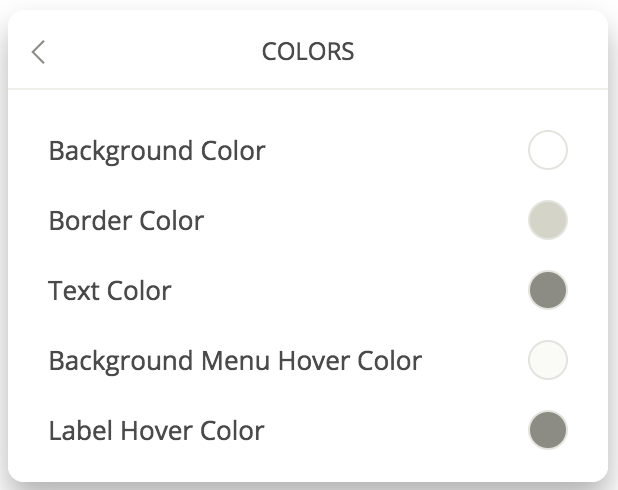
Finally, in the Colors section you can simply change the color of each component, such as background, border, text, etc.
Adding a Language Switcher will add a drop down menu with all the available languages on the Language app for your users to choose from, once they land on your website!
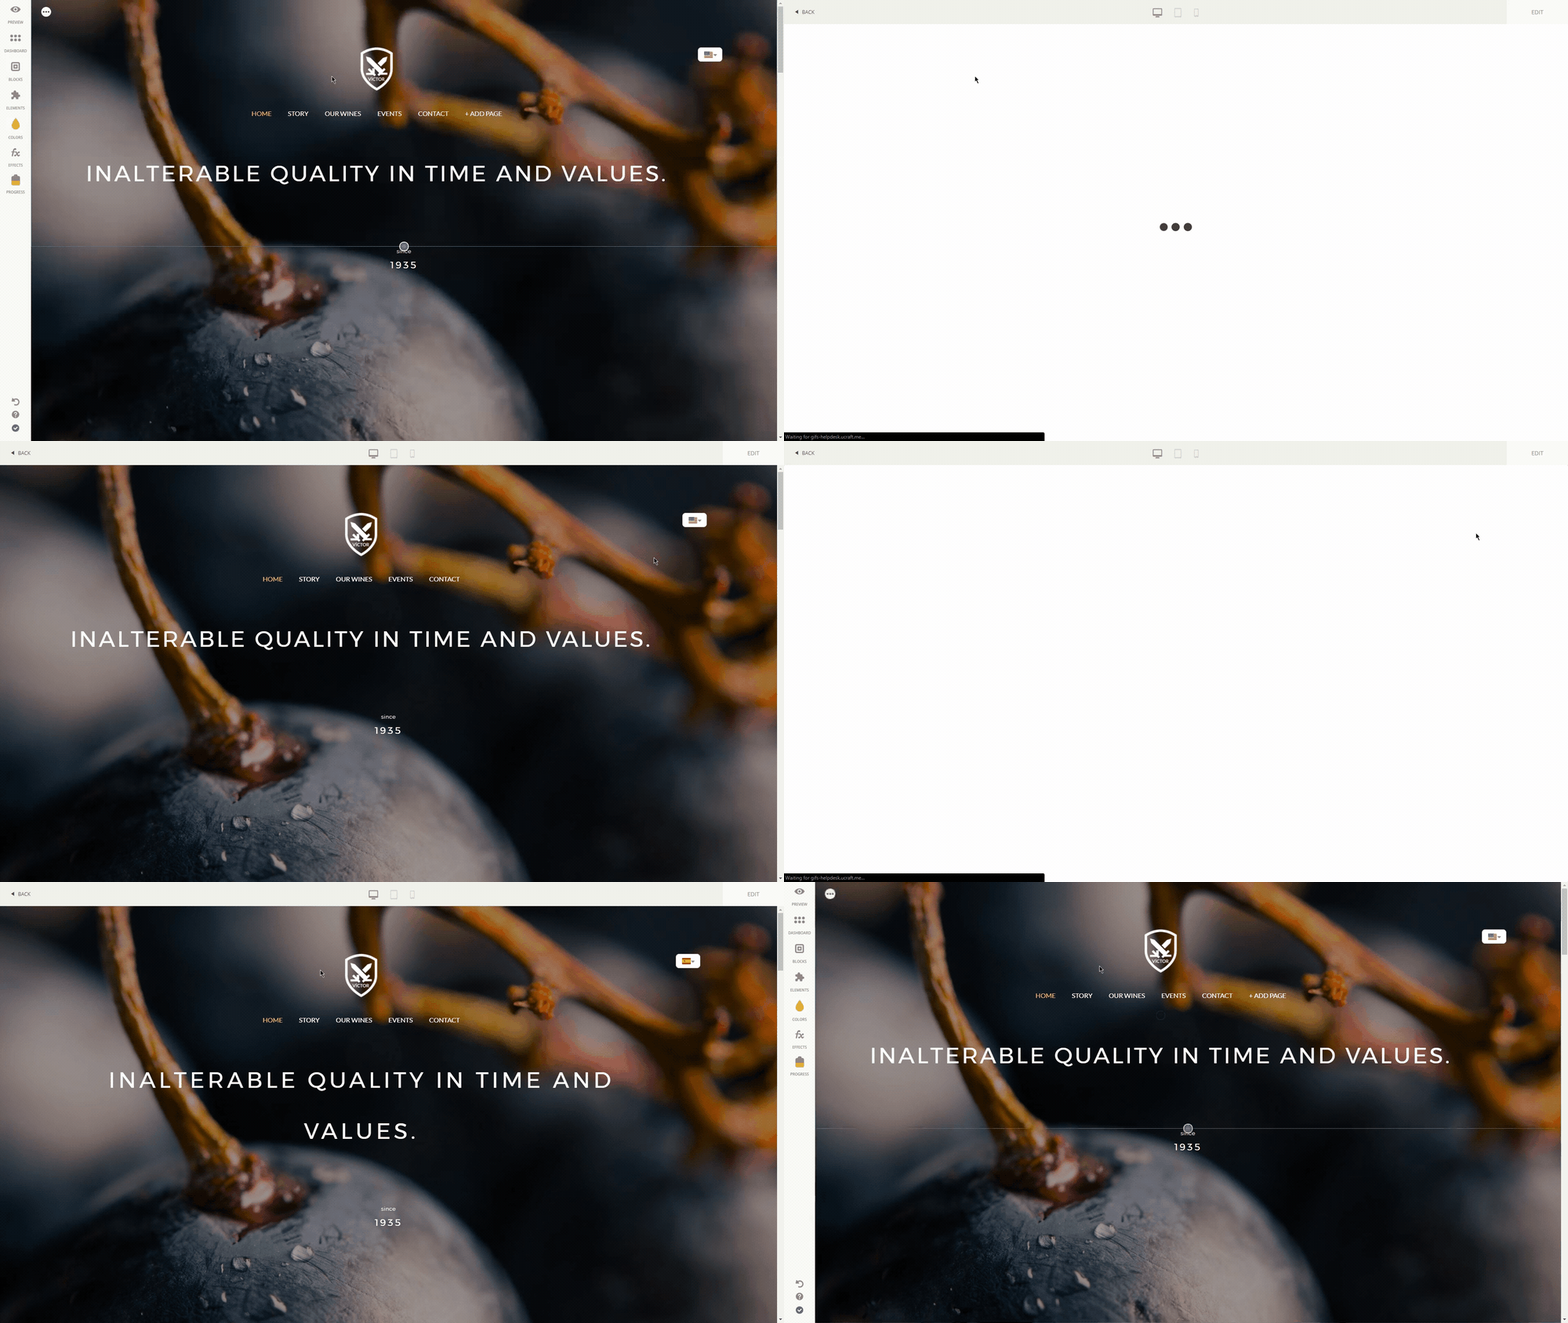
You may also right-click the Language Switcher element for more settings and alignment options!
Deleting a language, setting up language as a default one and more...
In the end, we'd love to tell you that your default language can be changed from En to your desired language from Dashboard > Languages app using the Star Icon.
The system will now serve the new default language to your visitors when they land on your website for the first time!
To remove a certain language from the list, simply click the Trash icon and the pages in the selected language along with the language extension will be removed from your site.
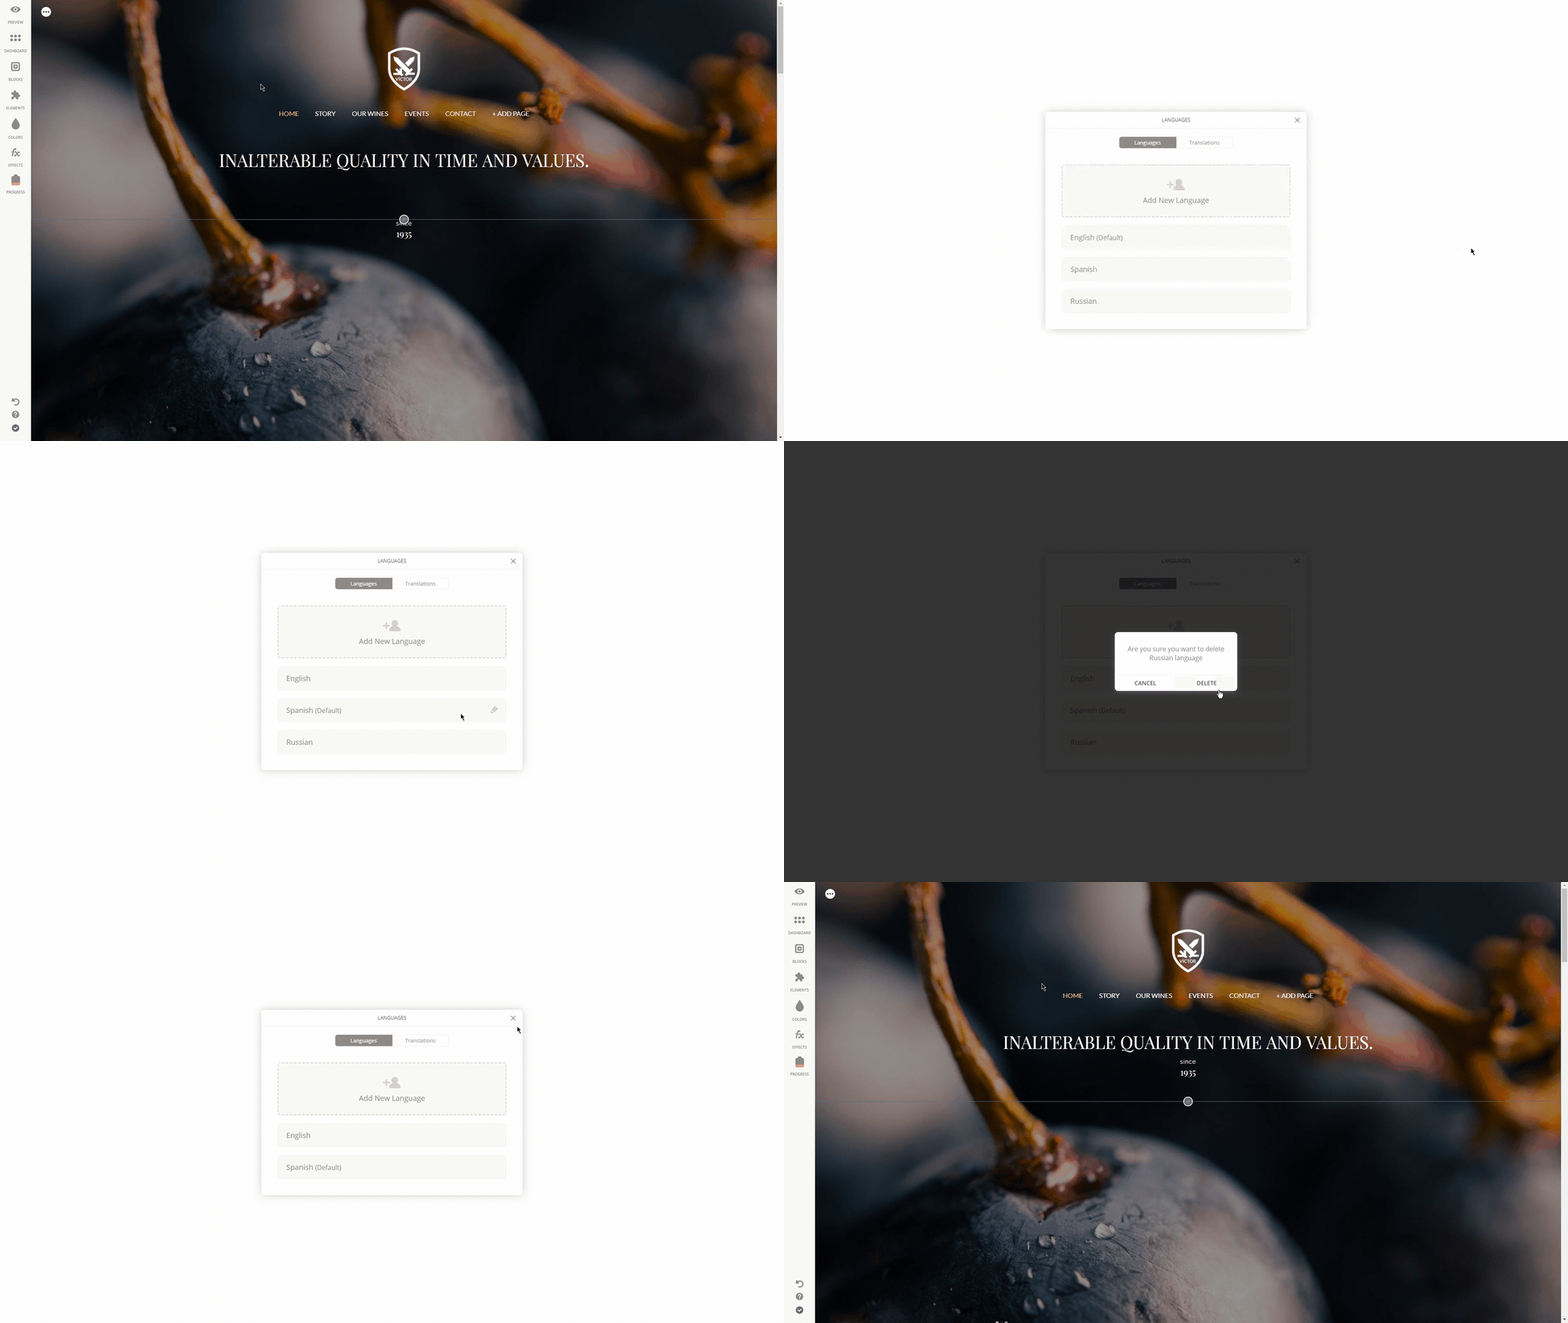
While if you want to delete certain pages in a different language, make use of the Pages App on your Dashboard.
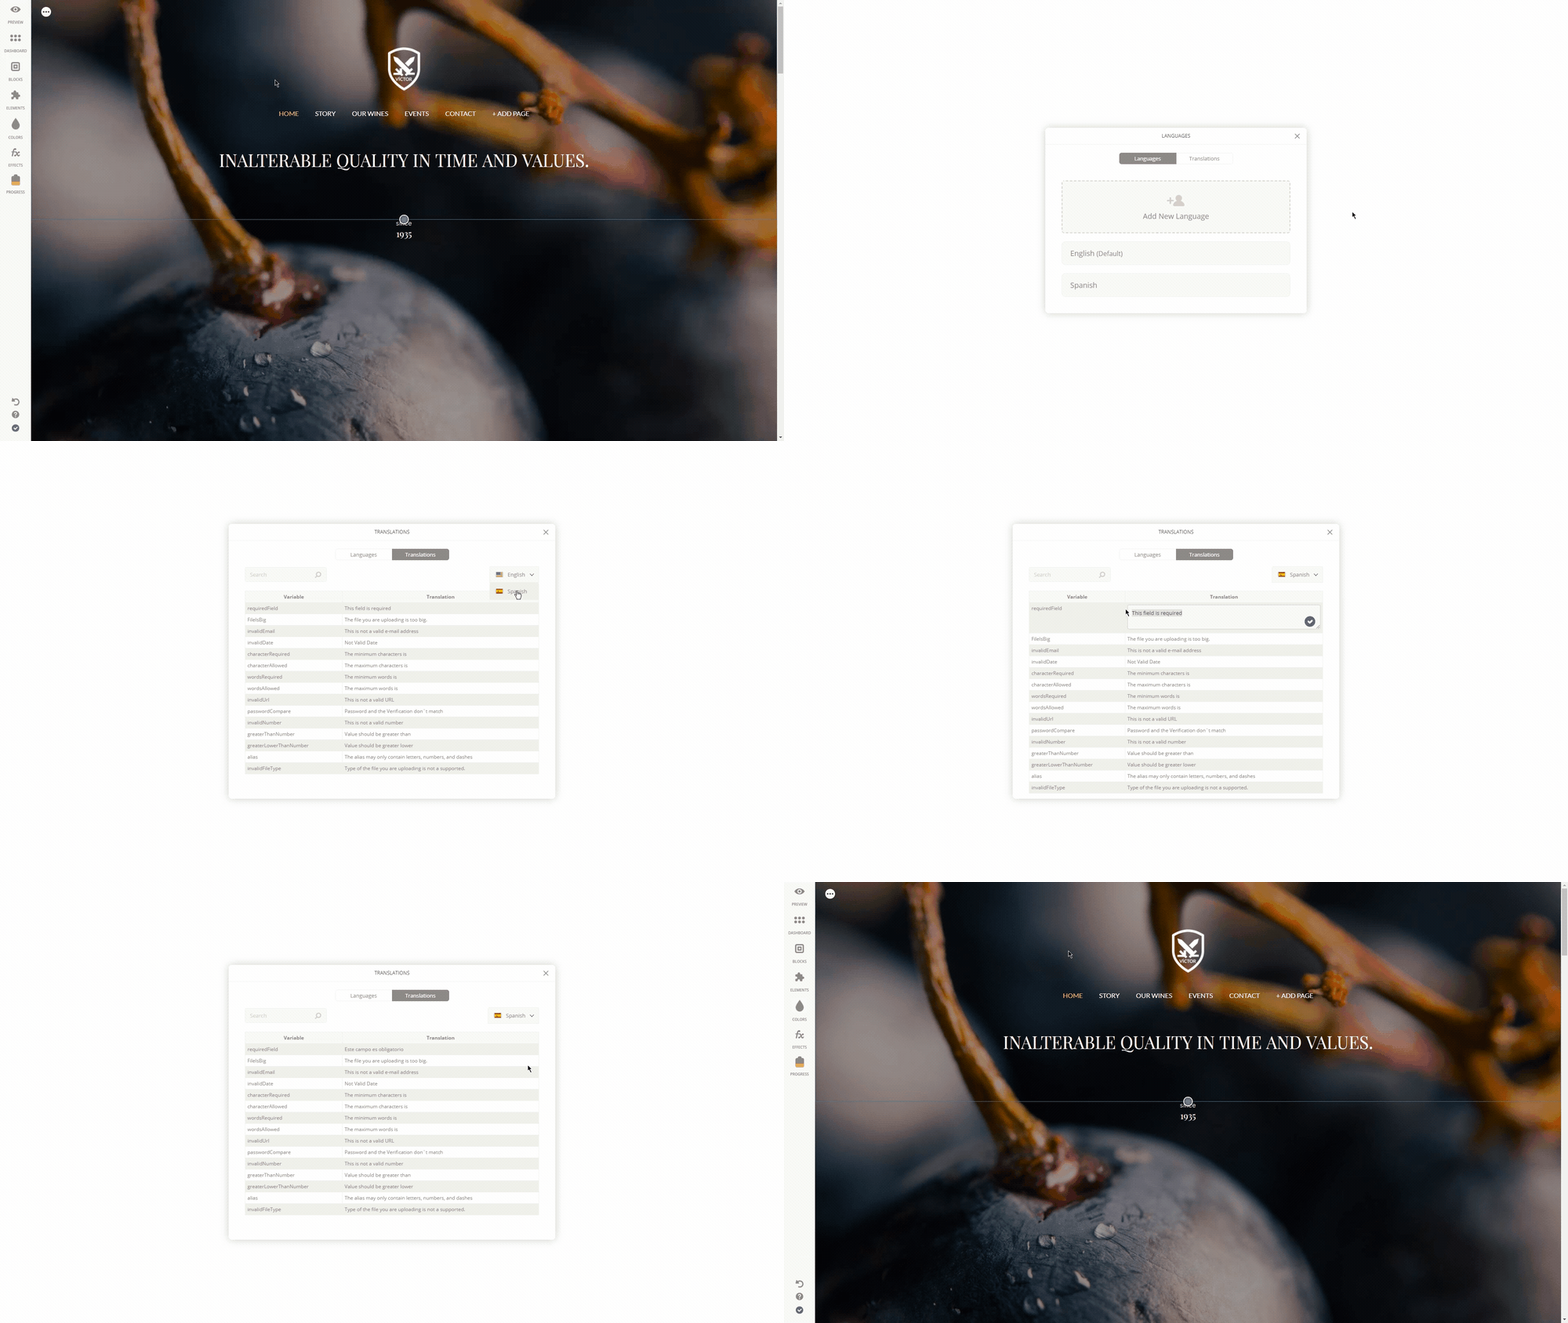
Let's move to the next section. Here you can find all the messages that can appear in the public view of your website in different cases and translate them to the second language easily.
Simply click on the desired Variable to change the message content or use the switcher to alternate between the languages. All you need to do is add the missing translations to the fields required.
Hope this article covers your question about the App, and if not, feel free to reach out for help, as our customer support team is eagerly waiting to help you with anything you need. 👦
How did we do?